Monday, January 27, 2025

Main Entrance Rebuild - Part FIVE


 Time to move on to the door.  As has been stated previously, a swinging double door was never going to work.  As the two door swings open, the hypotenuse of the two doors will cause the two doors to collide.  This is similar to placing a board into an opening, where the board is exactly the length of an opening, but doing it at an angle.  The thicker the board is, the harder it is force into place, if it can be done.  

Lego is extremely precise and thus counting on any slop is not going to happen.  The thickness of the door is composed of a plate and a tile.  This only makes the situation worse.  One way around this is to open one side first then the other once the first door has cleared.  In house construction, where to double doors are designed to work simultaneously, the  edges are often beveled to make this work.  Beveling in  Lego at this scale, is not practical.

So I moved on to sliding the doors.  Where the doors are now, that is not possible.  The doors have to move back from the front so that there is room.

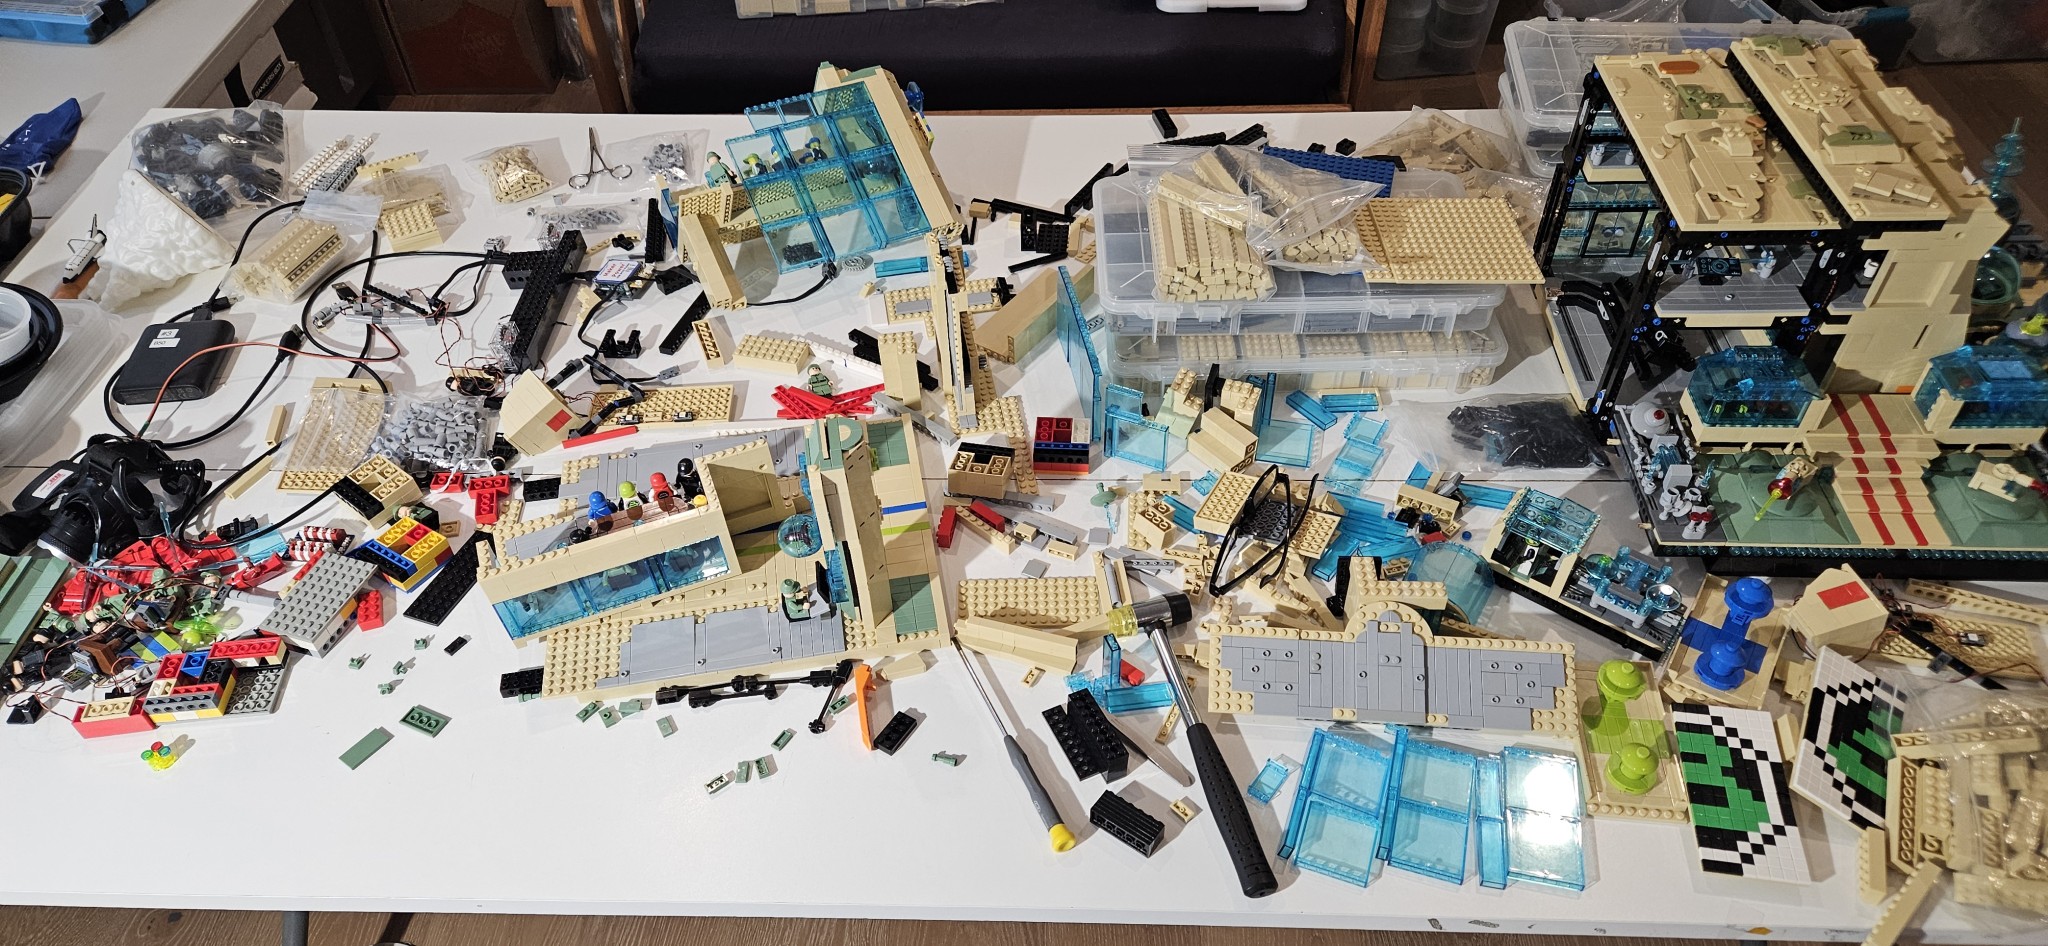
This picture shows the current configuration.  The doors are going to have to move back at least 4 studs.  The conduit is going to have to change and the back platform will have to get wider.

In this post, I showed a prototype of the door mechanism. The total depth needed is 3 studs.  The door takes up one stud width, which will accommodate the plate and tile thickness of the door.  One stud width is needed for the support wall that contains the driving gear.  Finally one stud width for the final gearing mechanism, that contains the work drive.

I started playing with this, trying to understand what changes were going to be needed.

That led to providing more support structure.

Which ended up here.  But this was not going to work, since the worm drive sections and the motor had to go in here also.  

After several iterations, I ended up here.  Though there will probably be more support in the form of some panels added.  Also the battery needs to slip under here and power still needs to be added, so I suspect some more changes will be implemented.


Backing up one step, I first tried to find the best implementation of gearing.  The small 12 tooth double beveled gear is in a fixed position and cannot move.   The gear itself could change, but the position cannot.  Also the wall it is attached to represents the edge of the opening, so I dont want this gear sticking out too much.  The worm gear to 24 tooth gear can move some. but the black double technic brick support brace cannot move.  So that limits its movement.  What is shown here is a 36 tooth double beveled gear.  I used half spacers behind to line up the gears.  Once I achieved a working system, it was time to determine the exact implementation.

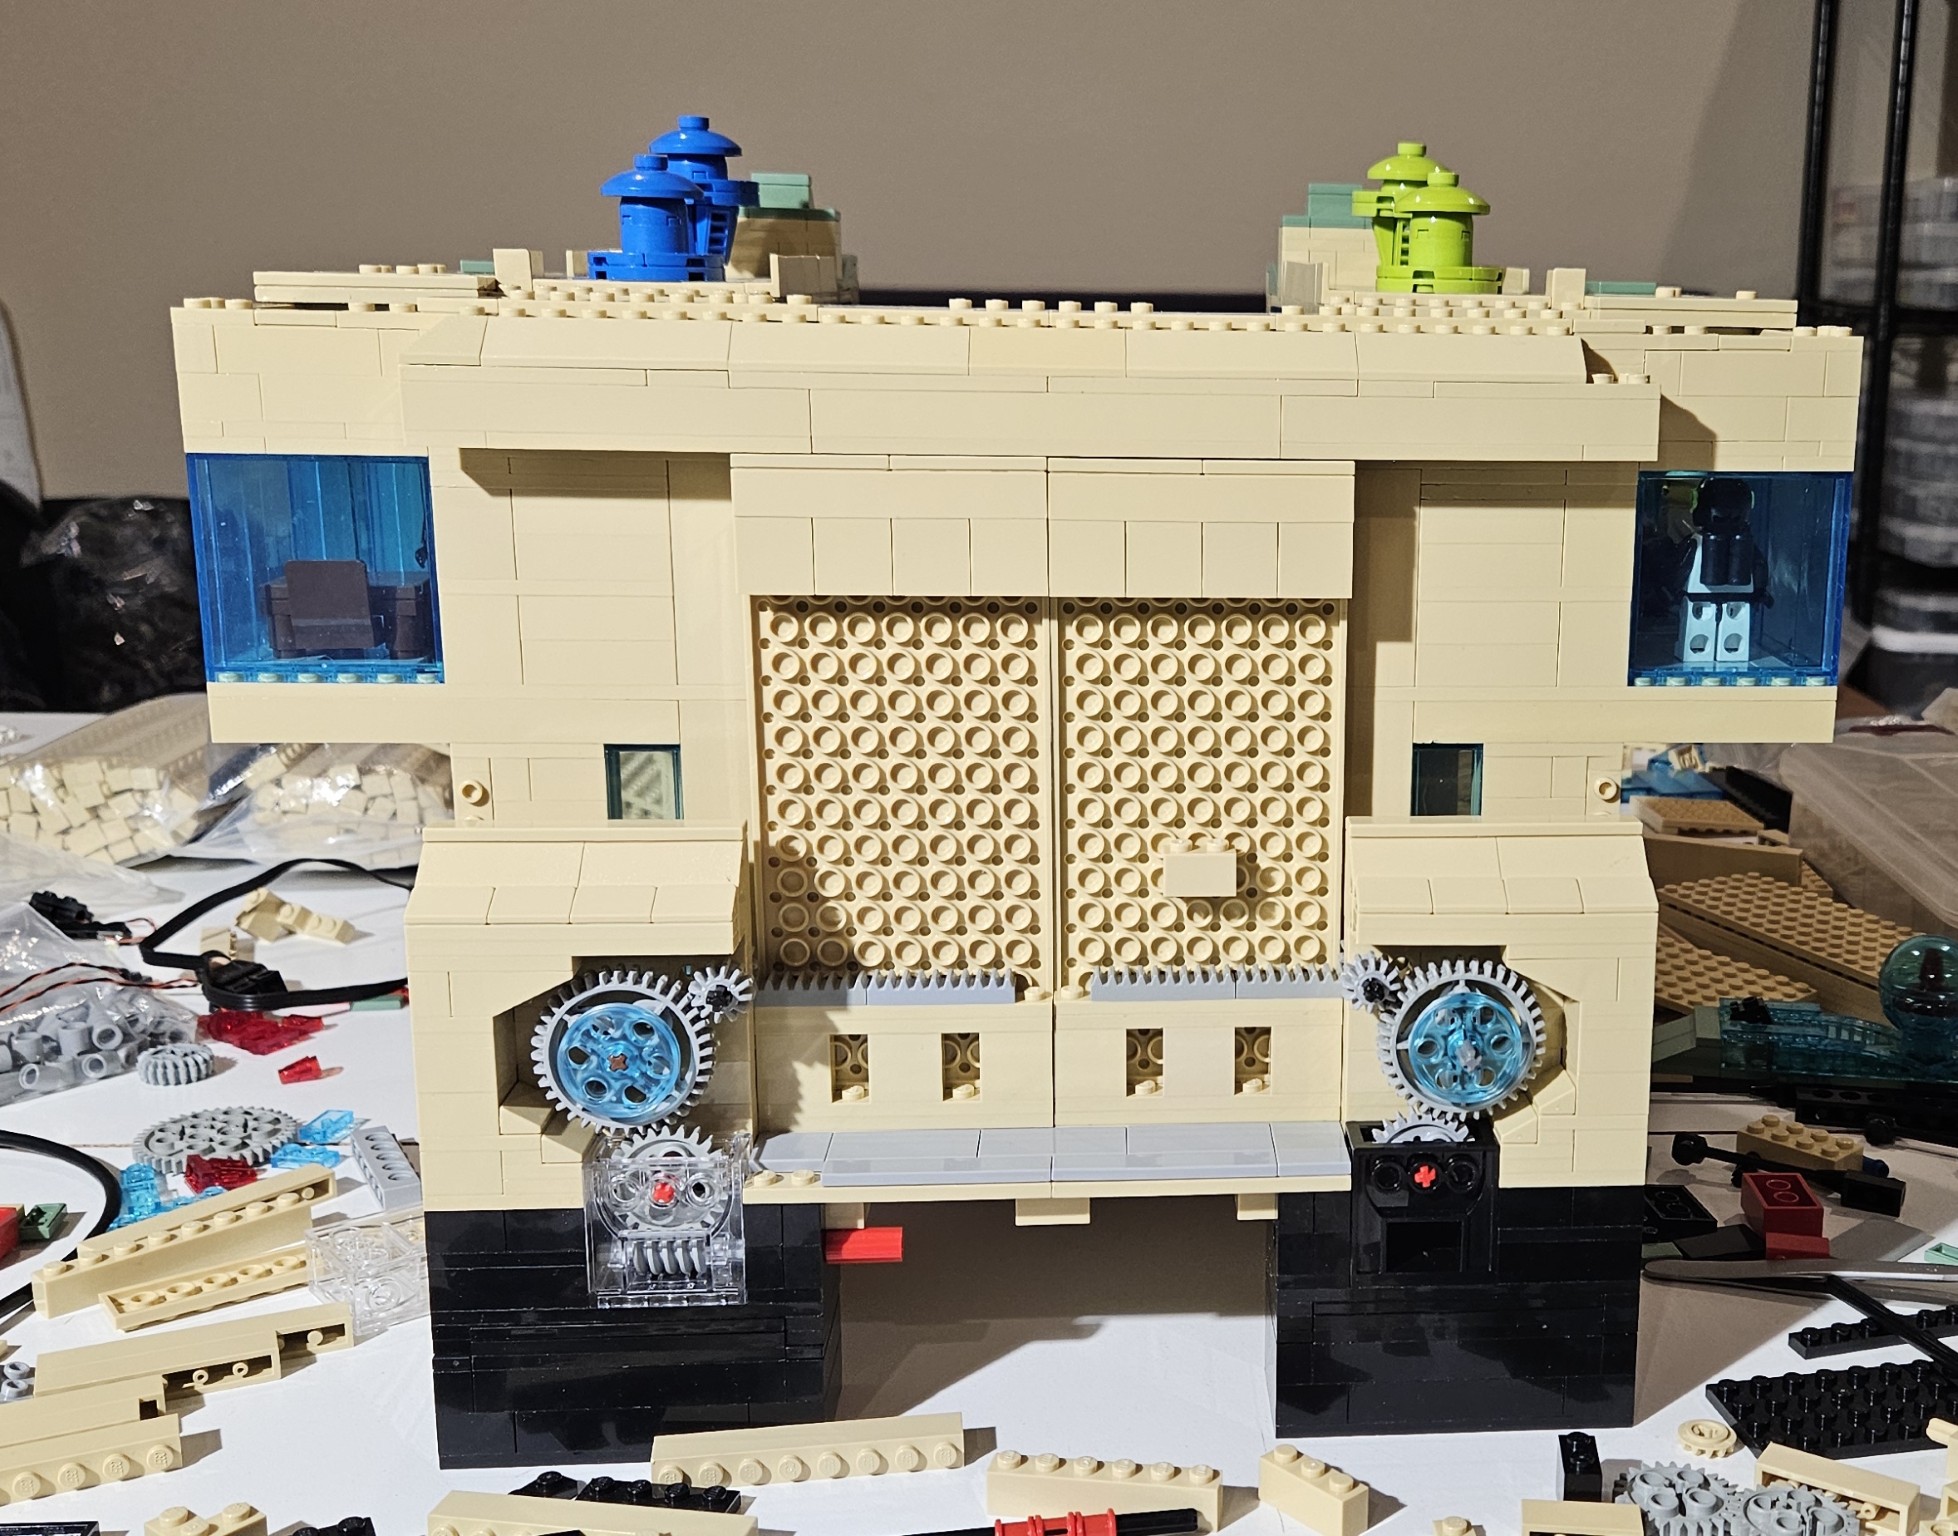
This shows the orientation of the gears.  There is a small support structure built around the gears.  The clear worm drive on the left will eventually be replaced by a black one.  For cosmetic reasons I added the curved enclosure around the gears, that was slightly improved in the photo below and the slope parts.

This is mostly finished, just not up on the blocks to achieve final height. The top portion was also changed to add a guide for the doors.  

Still some testing to do and then checking the storage box and finally the connections with other modules on the sides and in front.  Once that all verifies, I will finishing adding the power and the lights.


Thursday, January 23, 2025

Main Entrance Rebuild - Part FOUR


This update will be short.  This small section that is being changed was always the area I worried about the most.  

So what is the issue?  What is not shown here is the tower that sits on top of this.  A first order look at how the tower is structurally supported looks like this.  The weight of the tower is distributed to the first trans light blue 1 x 2 x 5 brick through the tan 1 x 16 technic brick.  Careful examination of this brick shows that there is some bending here.  What should be happening is that that the technic brick should extend to the two pillars on either side.  The same arrangement happens again were the weight is now transferred to the dark gray 1 x 16 brick.  It does transfer some of the weight  to the pillars on either side, but it is a very poor connection.  The trans light blue 1 x 2 x 5 bricks do help in weight support, but again the transfer of weight to them is poor.


These two pictures show the new bottom weight transfer design.  This is composed of three layers of technic bricks.  The first two layers are a layer of two 1 x 16 technic bricks connected with pins to one 1 x16 technic brick and two 1 x 8 technic bricks.  Then another 1 x 16 technic brick is connected on the back face.  On the front face is a 1 x 16 brick.  Then in order for this to cover the top of the door, three layers of brick are added.  

What this does is provide an excellent structure to transfer the weight to the pillars.  Once this in place, there is almost maximum support for the upper structures.  You will notice that I used a lot of tiles here.  This is so the next structure is easily removable, standard module building techniques.

Here the upper structure is attached.  What we notice is that instead of just one 1 x 16 technic brick spanning the 1 x 2 x 5 trans light blue bricks, there is two layers of technic bricks.  Two 1 x 16 connected with pins to one 1 x 16 and two 1 x 8 technic bricks.  This is the standard technique for strengthening technic bricks that will span a distance of 16 studs or greater.  The black 1 x 8 bricks can be hidden, but I will replace them with tan ones shortly.  I have been collecting tan 1 x 16 and 1 x 8 techninc bricks for a while.  They are not very common and can be expensive.  I just came up two short.

And now we are back to the first picture in this post.  You can see that the tower weight will now transfer to the side pillars much easier.  The two trans light blue 1 x 2 x 5 bricks are kept to help this effort and for cosmetic purposes.  


Wednesday, January 22, 2025

Main Entrance Rebuild - Part THREE


 Below is picture sequence of re-building the Main Entrance.  I am making some changes along the way.  In the two years since this was orginally built, 1) I have a wider variety of parts and 2) a little more skill.  So I am making changes to improve the structural integrity (and this make it easier to transport) and to redo the way the wiring is done.

Also I will have to make accommodation for the new sliding doors along the way.


One of the big changes was the plates used for the floor of the conference room and the briefing room.  Before it was a Hodge Podge of plates that I had.  Now it is minimized and constructed in such way to provide maximum structural integrity.


I am making progress, though I can see that things will have to change further once I start the sliding door integration.


Tuesday, January 21, 2025

Main Entrance Rebuild - Part TWO


 As described in the last post on this, I need to redesign the power distribution.  But I was not motivated to drill holes in 16 x 16 plates.

The holes need to be where the arrows are pointing.  Those are in 16 x 16 plates.


Thus I redid the plate implementation.  Instead of 16 x 16 plates, I used a combination of different plates to create 1 x 1 hole underneath the two front towers.  The picture below shows how the reinforcement on the bottom has changed.  The arrows point to where the hole is.


 This will allows for wires to run up  the tower and then across the ceiling of the conference room and the briefing room.  Since LED controllers will be installed in the towers to power up the two generators, this will allows to the briefing room to go from red to white on a periodic basis. 


Monday, January 20, 2025

Building Can Be a Messy Process


Well this picture kind of shows that sometimes I can not be as organized as I would like.  But some people say that is part of the creative process.  At least none of this was on the floor, would not want to have a Lego minefield to walk through.😄


Wednesday, January 15, 2025

Main Entrance Rebuild - Part ONE


To move the doors as discussed previously, this entire module will need to be rebuilt.  While I am add it, I decided to also redo the wiring as much as possible.  So lets get started.

First I took lots of pictures of the module from all angles. Mostly I needed to make sure that I keep the dimensions the same and that all interface to other modules remain the same.


Then I started removing in the biggest chunks possible of the top structure.  

Until this was left.

And this is the bottom side view.


While the blue base plate was a good solution at the time, it did not provide enough support.  So I changed it to this.

While this design provides much better support, it is not the final version.  I am still working on power distribution throughout the module.  So I suspect this is going to change.  This is made up of two 16 x 16 plates on the front of the module and then two more on the back.  Then there are two 6 x 16 plates in the center.  Unless I want to drill through these plates, some things will have to change.


Friday, January 10, 2025

Doors on Main Entrance - A Beginning


The Blacktron Logo has always been on door that was suppose to open.  In this case the doors were on hinges and would swing open to the back.  The door had to be at least two plates thick, the color tiles to form the logo and the backing plate.  As precise as the Lego pieces are, this was never going to work. AS the doors open, they crash into each other as the prototype shows.


That meant that the doors were going to have to slide apart.  That also means that they will have to move back for that to happen.  And finally, that means a rebuild of this module.  This was always going to happen for other reasons.  

This is the first attempt at making sliding doors. Right now only one side is connected.  The simple implementation would be two motors, but I want to see what I can do to reduce down to one motor.  


In order for this to fit in the current storage box, this is going to have to be an attachment in some form.  That will come from the module rebuild.  

For now here is a short video showing the one side working.