Monday, July 31, 2023

Light Buddy 2 - Update1

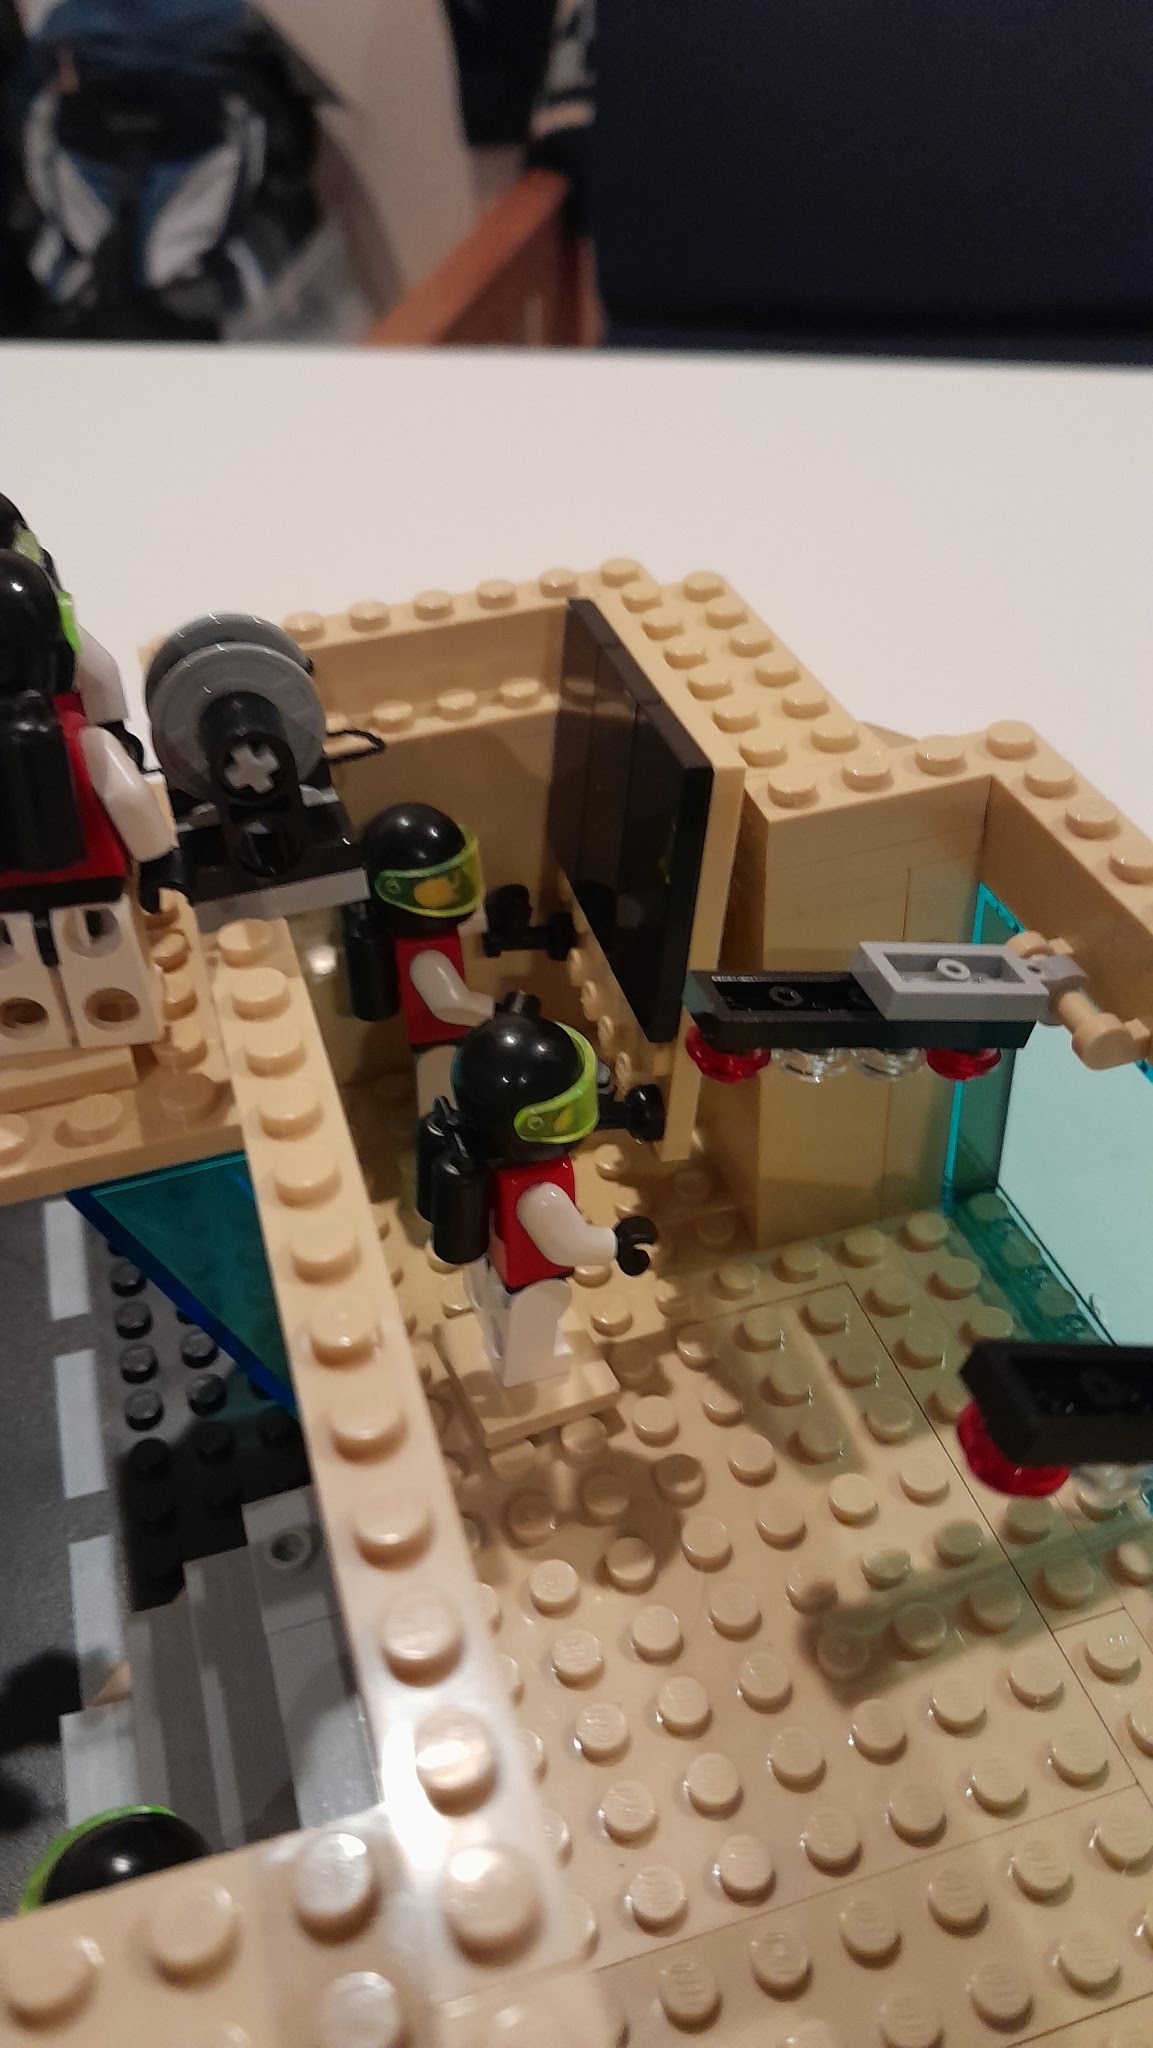
Light Buddy 2 is almost done now.  As previously noted here and here, the software and firmware are very close to being finished.  The picture above shows the addition of two new development tools for Light Buddy 2.

First is a six channel LED display.  This allows you to work on the lighting scheme, whether it is a static display or a  script, and test it.  

This is a communications interface.  This will allow a USB port on the PC to control the Light Buddy 2.  Using the Brick Controller PC software you can setup a static light scheme or you can download/retrieve a script.  This makes configuring the the Light Buddy 2 quite easy.

Obviously you only need one of each to setup an infinite number of Light Buddy 2s.  


Friday, July 28, 2023

Software Progress


There is progress.  In this post I talked about interconnection of the LED lighting control and to some extent the Motor control. So I thing I am about at the 98% point.  Both the Brick Buddy 3 and the Light Buddy 2 are working at the same level.  This includes both PC control and Scripting.  I need to some more testing of the script interface, especially the loading of a Script, but after that I may declare victory and move on to the Android software.

The Light Buddy 2 implementation was much easier and went relatively fast. 

This is the LED Control GUI.  You will notice that is very similar to the first picture in the post.  The programming method used is that the GUI controls everything.  The GUI offers what the capability of the hardware is.  All of the underlying programming and communication knows nothing about the hardware.  There is a limit set on the number of LEDs and Motors this software can control and going beyond that makes no sense in the context of what this product set is intended for.

As an example, the Light Buddy 2 has six LED channels it can control and all of the are identical.  The Brick Buddy 3 has ten LED channels.  Nine of them are identical.  The LED 10 is just ON/OFF.  The GUI in the first picture shows that the Features and the Brightness are not available for LED 10.  The drop down control also only has OFF and STEADY in the box.  But after the choice is made for LED 10, the underlying software and firmware in the hardware, has no idea that there is a limitation.  

The Microchip PIC firmware is built on the same premise.  There is are multiple common modules that implement the control.  This control then passes through an abstraction layer in the firmware that implements the control on the hardware.

The scripting follows the same concept.  If the capability is not there, it is not available in the GUI.

I am hoping that this common interface will it make much easier for individuals to use this.


Thursday, July 27, 2023

Brick Fest Live - San Diego


Well it is about month to go befor the next Brick Fest Live event.  This time we will be in San Diego CA, Aug 26 and 27 at the San Diego Convention Center.  You can buy tickets here.

I have been expanding the floating platform and improving the cliff wall.  I will be posting more on these features in the weeks and days prior to Brick Fest.

For now let's keep building.😀

Wednesday, July 26, 2023

Floating Platform Detail


This is going to be a quick update and mostly pictures of what is happening on the floating platform.  My intention is to add one more landing pad and this T-Interconnect.  I spent some time working on the control building that will sit on the T-Interconnect.  

First off it is easily removable as this shows.  There are only four studs on each side that connect the building to the plate.  The raised area in the back and just behind the stairs will self center the building when attaching.  The main reason for this is transportation.  It is much easier to move the plates on their sides.  Thus the building must detach.

And now for some pictures.

This is a picture of one side with the surface texture applied.


These two are the other side.  You will notice that the bule power tank is half empty, as indicated by the clear section.

This is the back.  the entire landing area was cut out of the rock, only this section still shows the rock surface.

Here the Maintenance Team is working on connection the flood light.

And these two are installing one of the large screens.

The engine test stand from the last post, in the setup position.

The engine test stand deployed for testing.

A scout ship coming in for landing.

A long view.

A final view.  There is still the entire inside to detail out.  This is still days away from being done.


Tuesday, July 25, 2023

Some Train Stuff


The ETE EuroWest Train show was in San Carlos.  I have not been able to go for the last few years either because it did not happen or I was otherwise occupied.  So this trip was very much anticipated.  I had a limited amount of time, so I did not take too many pictures of everything.  

I took these two because there is something I will be doing.  That is a roadway across tracks and probably in a curve.


And here are some pictures from previous Euro West shows.


I did purchase a few things.  There is no doubt that Marklin Train hobby is more expensive than the Lego Hobby and just as consuming.

This is the oil refinery area.  There is suppose to be 2-3 more refineries in this area.  I do have them, but they are of unknown state.  Plus the one that is there, has issues.  I managed to find one at the show for $25 which is about half of what I had paid on Ebay years ago.   And I found another large tank that may go somewhere or be used for parts.


I am always looking for rolling stock and new engines.  I found a nice BR50 (37844) for $125.  Not a bargain basement price, but decent.  To go with this was a collection of Electrotren (Spanish) tank cars.  These were $10 for the short ones and $15 for the long ones.  So I got one long Aral tank car, 3 short Aral tank cars and one short tank car of Shell, BP, and Esso.  That was seven cars in all for under $90.  I am happy.

This shows three tank car trains.  The closest is a Marklin Texaco train.  The middle train is mostly a Marklin Aral train (plus a Minol) with a BR81 engine.  The far train is the one I just purchased.  The BR50 engine and 5 Aral tank cars.  


Monday, July 24, 2023

PICkit 5 First Look


 Greetings!   

Summer always seems to be the hardest time to Blog.  Between wanting to get outside and enjoy the fresh air and surroundings and working (specifically Blogging), the working is losing.  But things are happening.

First as I alluded to in this post, I have had concerns about the state of my PICkit 4.  I only use it on the processors that a PICkit 3 won't work on.  At this time that is 18F46Q71 that I use in the Brick Buddy 3.  It will sometimes get into a state that only a complete recycle of everything(PICkit, target PCB and the entire PC) is needed.  You cannot buy PICkit 4 anymore through distribution/Microchip.  I have become worried that the one I have will fail, which would really hurt my development.  This is the main reason I purchased the PICkit 5.  I am also hoping that it will do better with the new processors.

I installed MPLAB X version 6.10 (required).  I first tested with a PICkit 4 and the PIC18FQ71 Brick Buddy 3.  As stated in the previous referenced post, this combination and Version 6.05 would not work.  But with version 6.10, it worked just fine.  Changing out to the PICkit 5, still works as intended.  Now I have not tried any of the SD Card/BT features, so I cannot comment on those.  But the USB interface to MPLAB X works as you would expect.  In a month or two I will try to write more as I get more experience with it.  I am especially looking forward to using the SD Card/BT to program Brick Buddy's in a MOC.


Wednesday, July 12, 2023

Windows 11 Upgrade


Well it was time to upgrade to Win11 on at least some machines.  Taking a big gamble, I did my file server first.  Surprisingly this went very smoothly.  All of the Win 10 machines still had access to files and printers.  Next was my main development laptop.  Again it went smoothly until I tried connecting to one of my HID devices.

In this post from September 2021 and the followup in October 2021, I talk about issues I had with the Jedi JVC Controller software for HID control in Delphi.  These issues only applied to my HP Elitebook 850 G5.  So tracing back into the JEDI HID controller source, I found where the error handler was being raised and then what HID device was failing.  As before it was "HID Sensor Collection V2".  Again it was not showing up in the standalone Microchip HID Test program.  The Jedi HID code indicated that once again it was failing the get attributes call to the Windows HID.dll.  Finally the JEDI HID code would raise the "Device cannot be identified" error.

But under HID devices in the Device Manager this was not listed.  Last time I had changed the HID driver to a generic HID controller and that fixed everything.  After searching around, I noticed a sensor category in the Device Manager and that is where it was.  Changed the driver to Generic HID and the error went away.  

What I did notice is that the error handler described in the second post above, was not present.  It looks like I did it on all the USB Power devices PC applications, but not for the Brick Controller.  So that is now implemented and all is as it was before the Windows 11 upgrade.

Is Windows 11 better, so far I don't think it is better or worse, just different😜


Tuesday, July 11, 2023

New Brick Buddy and Light Buddy GUI


I have been working on this for far too long now.  But it is very close to being done.  As I explained in this post, I am consolidating the LED Styles and Features. This means common code in the PC, Android and the PIC.  This makes software maintenance much simpler and if I expand the LED Styles and/or Features, it will happen in one place and then ripple out to all the software and hardware.

But there is a lot exclusion.  By that I mean for any given style, only certain features may be available.  Then certain features are mutually exclusive.  Finally certain features and the Brightness selection are mutually exclusive.  

Now writing "spaghetti code" to handle this is quite simple.  The problem becomes keeping it running and finding all the loops that were not planned for.  Thus I have been working on leveraging the features of OOP in the Delphi compiler to build simple but highly structured code.  Also I have been building an abstraction layer that the PC/Android can interface with that will control the LED channels on all of the hardware devices.  Again when I make a change, this should ripple through all the devices.  

Simply put, I need a Combo Box with check boxes.  These exist, but the components are not free.  I went with a CheckList Box that was part of the Delphi component pallet.  I only needed one, since only one can be shown at any time.  Each time the CheckList Box is shown, the data structure holding the LED channel information, populates the CheckList Box with the correct features that can be used (grayed out those that cannot be used) and fills the check boxes that are selected.  When a feature is selected by the user, any Features that are mutually exclusive are unchecked and the Brightness selection is checked for availability.  Sounds simple enough, but at least for me it proved time consuming.  Half the battle was just writing down the program flow.

I finally have a working version for the Brick Buddy 3.  Now I need to port this to the Light Buddy 2.  Then this concept moves to the Scripting language.  How long will this take, not sure.   Up til now it has been slow going.  The brain is not as sharp as it used to be😊.  But progress is made and I suspect moving this to the other hardware platforms will be easier than the first go around.  The scripting language will have some road blocks on the first one, but after that it should go fairly fast.