Showing posts with label LED. Show all posts

Monday, September 8, 2025

Brick Lights ONE - Redo

I finally got around to working on this again.  When I first did it, parts availability just killed it.  There were several parts I could not get, including the processor.   I first discussed this here and then a few months ago here, where I discussed a lot of issues with the firmware. Now that has changed, I went back to it.  I made some changes to make it more closely line up with what else I was doing.

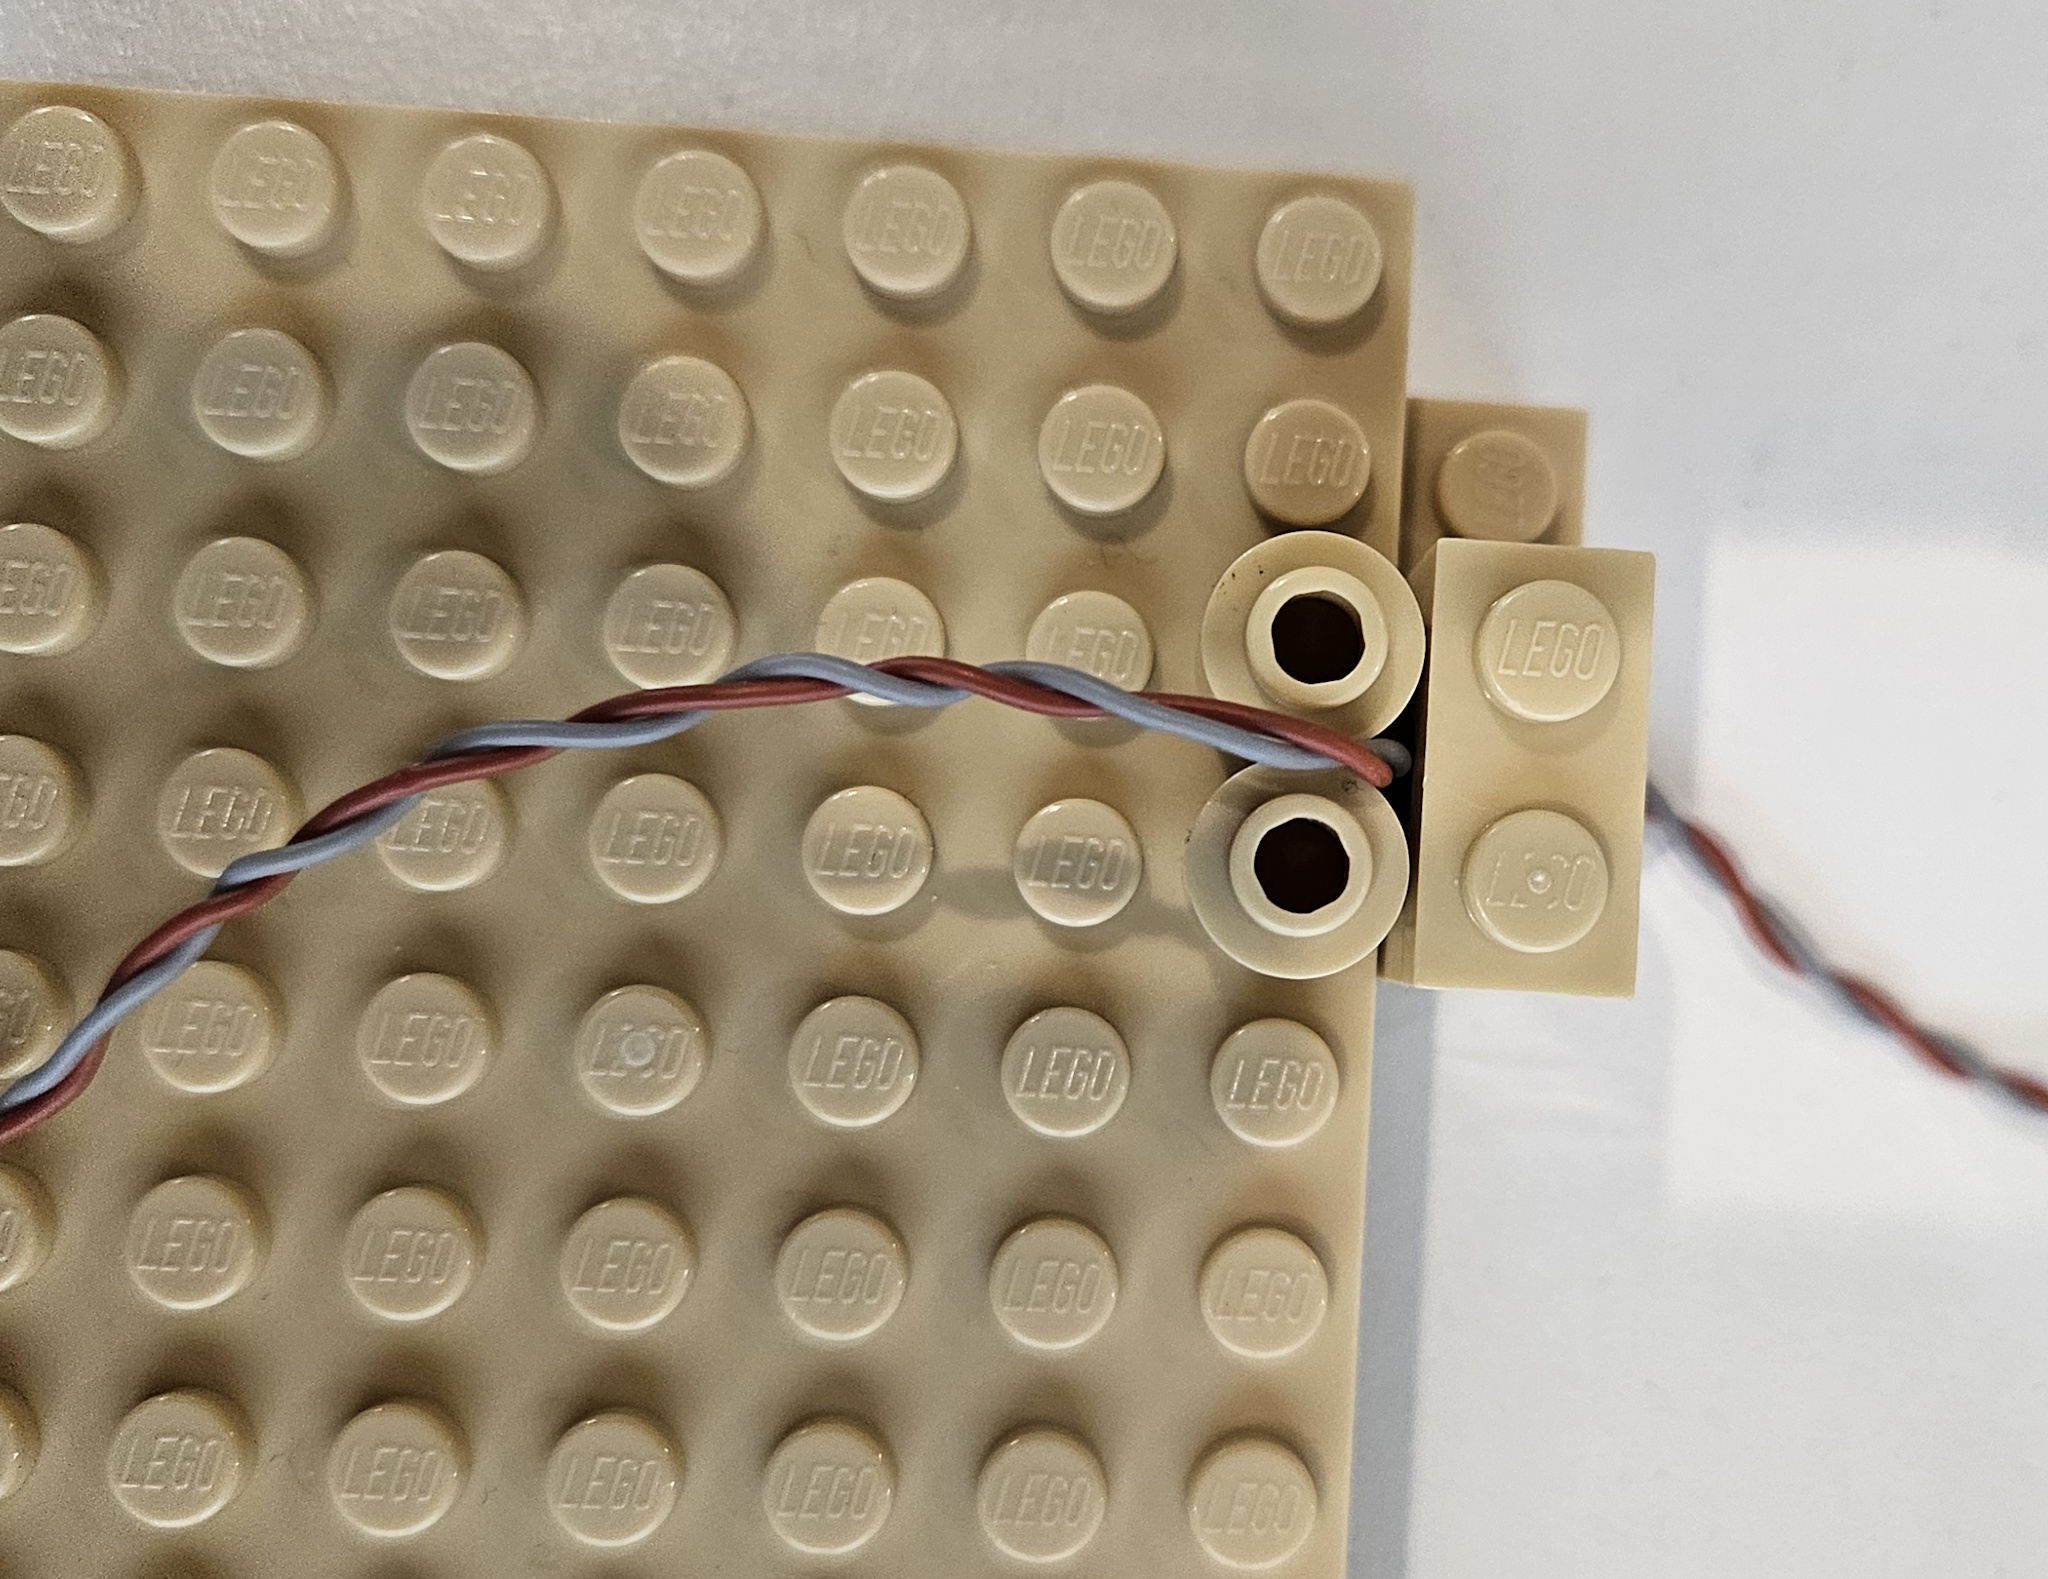
As a recap, this was the first iteration.  It has a larger BT module and individual LED connectors.  Looking at the picture at the top, you see that the LED connectors have been consolidated down to three 2 x 5 connectors, which is what I use on the Brick Buddy 3.  Also I have added a standard power connector.  This allowed the entire PCB to shrink down to a 6 x 7 stud size instead of the 6 x 8.

Once I finished this, I sent it out to FAB at my usual fabricator in China.  This right before all the tariff stuff blew up.  I am sure I was not the only one that was trying to squeeze in under the deadline.  Well the PCB that came back had a short between 3.3VDC and GND.  Not good.  After going back and forth with the vendor, they said they found a place where the tolerances were not met. How they missed it, they never said and how my design software did not flag is also a mystery.  Any way drilling out a via fixed the issue.


It required that I put a jumper wire in to power up the section that the drilled out via cut off.  So went on and slowly assembled it one section at a time.  In the very next section, I found another short this time in a signal to GND.  I was not successful in drilling this via out and I called it quits on those boards. 

So I started looking at US sources, the only one that came close was OSH Park.  But that is 3 PCBs.  So I waited to see how this whole tariff thing was going to play out.  The downside to OSH Park is that they do not want inner power planes in negative.  Which has been the standard for years.  I guess toomany instances where the fabricator thinks it is an inner signal layer and does it as a positive.  I redid the inner power planes as signal planes and polygon pours for the power/ground.  We shall see how this works.

Finally it looked like the tariff stuff settled enough, I went ahead and ordered new boards using the signal layers instead of the power layers.


Tuesday, May 13, 2025

Garbage on the Space Outpost

As past of the effort to detail the space outpost, garbage handling came up.  There are two approaches to detailing, fun action related things, ie building walkers, attacking the aliens, etc.  Or you can work on the "hum drum" that makes any large complex run, ie, maintenance support, food service, gym, showers, sleeping quarters and garbage handling.


My idea was incinerators and maybe a garbage crusher.  These two pictures above show the beginnings as I play with incinerators and the openings.  I saw these circular openings elsewhere and decided it was perfect for this.  It gives the illusion there are doors in them that will close when needed.  The bottom picture shows three different possibilities.  I settled for the one on the right as the basis.

Here is the close to final design, without the circular openings.  There is an incinerator on either side and the garbage crusher in the middle.  There is a control panel for operation.

The circular openings have been installed.  There is still detail to be added inside each compartment.  The circular opening makes it hard to see the garbage crusher.  The is something that will have to be worked on.


This is installing the lights.  I went with cool white on the incinerators and RGBW Led on the crusher.  Except I only connected the RED and BLUE.

Here it is with the LEDs on.  You can also see some of the detail that is included is included in the incinerator rooms.  After seeing this, I am going to look at putting the small LED controller in to varying the lighting.  The garbage crusher also needs work.  Unfortunately, there is no place to put a motor, that would be ideal for the crusher.


Thursday, May 8, 2025

Just Harmony

                                                                                                                                                                                        Designed by Freepik
 Well after a few weeks of work,   I may be there.  The software component lefty to implement is the script manager.  This is mostly software with a dependency on the Non-Voltaile Memory driver.  Since that is working with the config data, what remains is verifying it works on the larger memory needs of the script manager.

The last problem child was the Bluetooth and the RN487x interface.  First the UART driver did not work anything like the previous model.  As a result the Tx function is blocking, kind of, for now.  Not sure how important that is.  In the RN487x implementation, I wait around for the CMD prompt before executing the next instruction.  I could have the ISR process the flag the main loop when this happens, but this is only important on initialization.  For now I am just going to leave it as an inline process that runs to completion.

The Rx function works like before with an ISR that processed the Rx queue from Harmony.  I did have to use the Ring Buffer  implementation.  The normal implementation required that you submit a read request, instead of just using the call back when a byte came in.

There was another problem, but this had to do with Android software  I had thought I had solved this problem several years ago, but it came back.  It has to do with how many bytes are transmitted when writing a Bluetooth Characteristic.  Once transmit 8 (the maximum I set up), then in that session it will always transmit 8.  If you send 4 bytes, it will just stuff the other 4 bytes with the last 8 byte transmission.  You can read about this issue here.

Time to move on and finish this to the point I can start to assemble the new PCBs.  I have a place for at lest on of these 15 channel LED controllers.


Saturday, May 3, 2025

More Harmony, Less KAOS and some Stupidity


                                                                                                                                                                                         Designed by Freepik

I have spent the last few days working on the I2C driver that I need for the LP5569 LED driver.  This is one component that received a major change from Harmony v2 to v3.  Most of API had their names changed and few things were added/deleted.

First for Brick Lights 1, I changed the board to eliminate the individual connectors for each LED that used the very small two pin connectors, the working proto is shown here. 

I used the 2mm header (2 x 5) that I used in the Brick Buddy 3.    I also changed the BT module to the smaller RN4871.  This also allowed for the board dimensions to shrink 8mm.  This is the new layout.


The first picture is the device that I am using for the development, while I wait for the new PCBs to arrive.  I should mention that under Harmony v2, most if not all of this proto was working.  So I know that the design was good.  

After generating all the I2C components in Harmony 3, I started the process of implementing the application layer code.  While Harmony generates the drivers and middleware, you still have to implement the application layer.  That took over a day to get to the point that it would compile  and at least appeared to communicate with the I2C drivers.  This I2C implementation is interrupt driven which for the most part makes it non-blocking.  

No matter what I tried, the driver would report an I2C error when transmitting a simple command.  Trying to follow the execution path down into the driver was not yielding any useful info.  After two frustrating days, I decided to try a different approach.  I have a PIC32MX470 Curiosity board and there was an I2C EEPROM example.  Also the Curiosity board allowed me to connect my Digilent Analog Discovery device very easily.  This device has an I2C decoder built in, thus I can see the commands and the protocol to determine if it is working correctly.  While the EEPROM was responding correctly, the firmware still not see it.  Stupidity number ONE.  The comments for this example were very specific to make sure the CLICK sockets were connected with ZERO ohm resistors.  Well they were not.  The 1K resistors were just enough to screw up the PIC32 read.  Once I got the example code running, I modified it to more resemble the code flow I was using.  Now that I know this was working I could go back to the proto with some confidence.

Well still not working.  Attached the wires for SDA and SCL so  I could watch the I2C protocol exchange on the Digilent device.  First thing I see is the device address is wrong.  With a 7 bit I2C address in Harmony v2 the user was required to shift 1 bit left, but in v3 the driver does that.  Thus the device address had been all wrong.  Stupidity  number TWO.  Once this was changed the I2C exchange started to work, but would not complete.  

Side step, when I first started using TI LED Drivers, I was using the LP5569.  Then COVID and they disappeared. But I could get LP55231, and earlier version that was 90% firmware compatible, though the outputs were inverted.  THE LP55xx driver that I wrote would mostly do both, though I had not completely tested it on the LP55231 since the LP5569 became available again.  The new layout will use the LP5569.  This proto was the only device that actually had the LP55231.

Looking at the  I2C trace, I could see that the final ACK was not coming in.  After hours of research, I found that the LP55231 required a software Chip enable for some commands to work.  How this worked before I am not sure, but I decided to just move on.  I modified the startup loo.  Stupidity  number THREE.

Now the entire initialization of the  LP55231 completes and the status read back shows all the registers are where they should be, just not at reset.  I still need to check if the LEDs actually light up, but for now I have high hopes it will work.

On to the BT module.


Friday, February 28, 2025

Thursday, February 27, 2025

Main Entrance Rebuild - Part EIGHT


As explained earlier, I have changed the wiring implementation.  In the orginial build of the Main Entrance, the wiring all came up the back in a conduit like structure, as shown here.

But that was problematic and I could never keep it looking straight.  So I came up through the towers in the front as shown here.

There are two levels for the LEDs.  The first illuminates the area on either side next to the hanger bays.  This includes the area around the internal power generators and the hanger observation area.  The second level is the conference room and the briefing room. The briefing room also powers the upper observation deck.

This shows the wire routing for the first level.  I used five tan 1 x 2 modified plates with pin hole to route and conceal the wire in an area where it could be seen.  Placing these next to each other creates a conduit structure for the wire.  This runs on both sides very near the spheres for the internal power generator, as you can also see in the above picture.

This shows the three LEDs that are used on each side.  Two illuminate the internal area for the internal power generator and the single LED will illuminate the observation area.


This shows the lighting arrangement for the conference room.  The interconnect is complete, there is just no power connection.

This shows the power connection.  You note that the wire is passing through two 1 x 1 Technic bricks as guides.  the Light Bluish Gray 1 x 2 modified plates with pin holes serve as guides for the wire also.


These two pictures show the power wire coming from the front tower where a 1 x 1 Technic brick is guiding the wire.  It then goes through a 1 x 2 modified plate with pin hole and finally through another 1 x 1 Technic brick.  These bricks with holes in them, keep the wire snug up against the wall and the ceiling.  You can probably see them if you look really hard, but it will take some body contortion in the normal display setup.

On the other side of the main entrance, the first level is identical.  The second level where the briefing room is slightly different.  Since this side had to power the observation deck also, routing is a little different.  The main power wire goes to a small 1 x 2 LED PCB that is used to distribute power.  One goes back to the LEDs for the briefing room.  And one uses the standard 2 pin connector to power the observation deck.  See the red arrow in the picture above.  These LEDs will eventually be the RBGW type, so that I can switch the briefing room from RED to WHITE.

The power for the observation deck passes through the wall using three 1 x 1 round plates.  Then it enters a conduit structure composed of 1 x 2 modified plates with pi hole (on the top).  Then it passes into the observation deck through a hole in the Technic beam that is supporting the roof and tower structure.

After that the wiring remains the same.  The observation deck is illuminated in BLUE, because I think it adds some contrast to everything else.  The small connector for the tower is the same.


Tuesday, February 25, 2025

Main Entrance Rebuild - Part SIX


Next step is adding the wiring for the LEDs. 


I had previously showed this in the base.  This is where all the wiring will come up for the two sides.

This shows the mostly completed wiring.  I have used this power distribution module to make most of the wire connections.

The main connection is a USB Type-A connector on an 18 gauge wire that connects to the battery.  There is also a Mini USB Type B connector on the module that I use for testing.  I used the modified plate

with pin holes to route the wire around and more importantly to keep it contained when moving, transporting, setup, tear down , etc.

In the blog post Small Detail I showed the final installation of the internal power generators.   Here they are.

On the left side underneath the green, blue, red and orange round tiles is a transparent neon green round 2 x 2 brick.  Inside this brick is a UV LED and a Cool White LED (small SMT LEDs from Amazon).  The UV LED is illuminated with a triangle waveform while the Cool White uses a burst mode waveform.  Contained in the sphere is a RBGW LED module where only the RBG is connected.  This is illuminated with a random PWM pulse for each color.

 
Under the sphere I used a Technic 2 x 4 plate to get the hole I needed to move the wire through.  Under the round brick I had to drill a hole for the wire.


The backing structure for the internal power generators contains the light controller for each generator and small power distribution PCB.  I used a 2 x 1 LED PCB to do this power distribution.   It makes easier to take apart.  You can see the power wire passing through the hole showed in the first set of pictures.  


Once the structure is set in place, I started putting the corner wall panels on.  I had to be careful to run the wires though the small opening that was there. 

Next is to connect up the LEDs.


Tuesday, October 29, 2024

Wiring Review


I have discussed wring in several blog posts, here, here, here, here, here and here, among many others.

But what I intend for this post is compilation of the bricks that are used and how basic LED wiring can use these bricks.

First the bricks.


These are the basic Bricks that I use.  The wiring shown in the very first picture is 30 gauge wire, either twisted by hand or purchased in the black two conductor ribbon cable.  There is smaller wire (higher gauge number) available.  However better tools are needed to use these smaller wires as I explained on my website.  Just scroll down to wire sources.


These two pictures show how the 1 x 2 Brick with channel can be used.  By placing 1 x n Bricks on either side it will provide some support.  This method only allows for half of the channel to be exposed, but that is sufficient for the 30 gauge wire used.

This shows the wire running through the channel.  Another 1 x 2 Brick with channel is added to help secure the one underneath.

This is the same idea, but using the 2 x 2 Brick with channels.  With this brick you can run up to 4 wires up a column if needed.  The axle hole in the middle can also be used.


Here I use to 1 x 1 round bricks to create a channel.  You can also use 1 x 1 round plates to create the same channel.


These two pictures show how to run wire between two 1 x 1 round plates.  The easiest way is what is shown.  Place two round plates, then the wire followed by two more round plates.  You can do it with just one layer of round plates, wire placement is just more tedious.  

This shows a 2 x 6 plate covering the wire in order to hide it.  


Finally this is a way to hide a wire run using 2 x 2 curved slope.  Obviously  a 1 x 2 curved slope will also work.  I have used this technique to hide long wire runs.  This implementation uses a 1 x 4 plate topped with a 1 x 4 tile.  That stack could have been another 2 x 2 curved slope also.

These are just some of the possible ways to run wire inside a MOC.  I am sure there are other bricks that can be used also.