Monday, June 20, 2022

Countdown to Bricks By The Bay 2022


Date:  June 23 through June 26

Location: Santa Clara Convention Center

Website: Bricks By The Bay

Social Media: @bricksbythebay, @bricksbythebay_official #bricksbythebay 

Our Location:  Across from the Great Ball Contraptions & near the Lego Masters

Bricks by the Bay is this weekend.  Here is what we will showing at the convention.

  • Brick Power.  We have a limited number of our USB based power converters for Lego Motors (Power Functions)
  • Brick Controller.  We have a limited number of the our USB/Bluetooth controllers with 4 motor channels and 4 LED channels.
  • LED Lighting.  New LED lights that fit on a 1x1 or 1x2 plate/tile.
  • LED Power Distribution.  Simple device that takes USB power and provides punch down type connections.
  • LED Lighting Controller.  Expands the number of LED channels to 15 for those MOCs that need multiple LED controls.
  • Brick Shirts and Softwear.  New brick shirt designs for young and old.  Plus other softwear that we are famous for.
  • Minifigs.  Assorted Minifigs that were acquired over the years.

Brick Power and Brick Controller


My biggest problem has been the current chip shortage.  Finding electronic parts has become an all day task.  Most are available in Asia at the "brokers", but it is not uncommon to see anywhere from 10 to 100 times cost increase over normal MSRP.  As an example, an item that sells for $60 cannot afford to pay $55 for a part that was $1.24.   I still have inventory of these two items and they will be aggressively priced for the convention.

LED Lighting

I have always wanted a simple and consistent way to mount LEDs both in my MOCs and for my HO train layout.  These two products get me closer to the goal.  One is the size of a 1x2 plate/tile and the other is the size of a 1x1 plate/tile.  You can glue these onto a plate for mounting on a ceiling or a tile when you want up lighting.  Right now the product only comes with white LEDs, either a simple single Dome type LED or a larger flood light type.  Custom colors will be available, with a small charge.  I have not priced these yet, but they will be well under $5 each, depending on the size and LED.  The website will have a list of vendors where you can buy wire.  Each board provides a rather large pad to solder the wires onto.  We will not be providing wire on the standard product.  We don't know what you need.  The Website list a few places where you can get wire and what the difficulty level is with each.  Look here for more information.

LED Power Distribution

When you don't need the fancy lighting effects and all you need is for the lights to be on, this is the best answer.  This device takes in USB power and then distributes to either punch down connectors or small connectors that are popular with other 3rd party LED vendors.  What I do is solder a piece of solid 24-26 gauge wire to the ends of the small wires from the LEDs and then place these stiff wires in the punch down connector.  Depending on the USB power source, you can power over 25 LEDs easily with this.

LED Lighting Controller


At a minimum, I hope to demonstrate this at the convention.  There is still a lot of work to do on this, so it is iffy right now.  This is 48 x 64mm or the size of a 6x8 plate.

Brick Shirts and Softwear

We will have a new selection of of shirts and other softwear items. These include
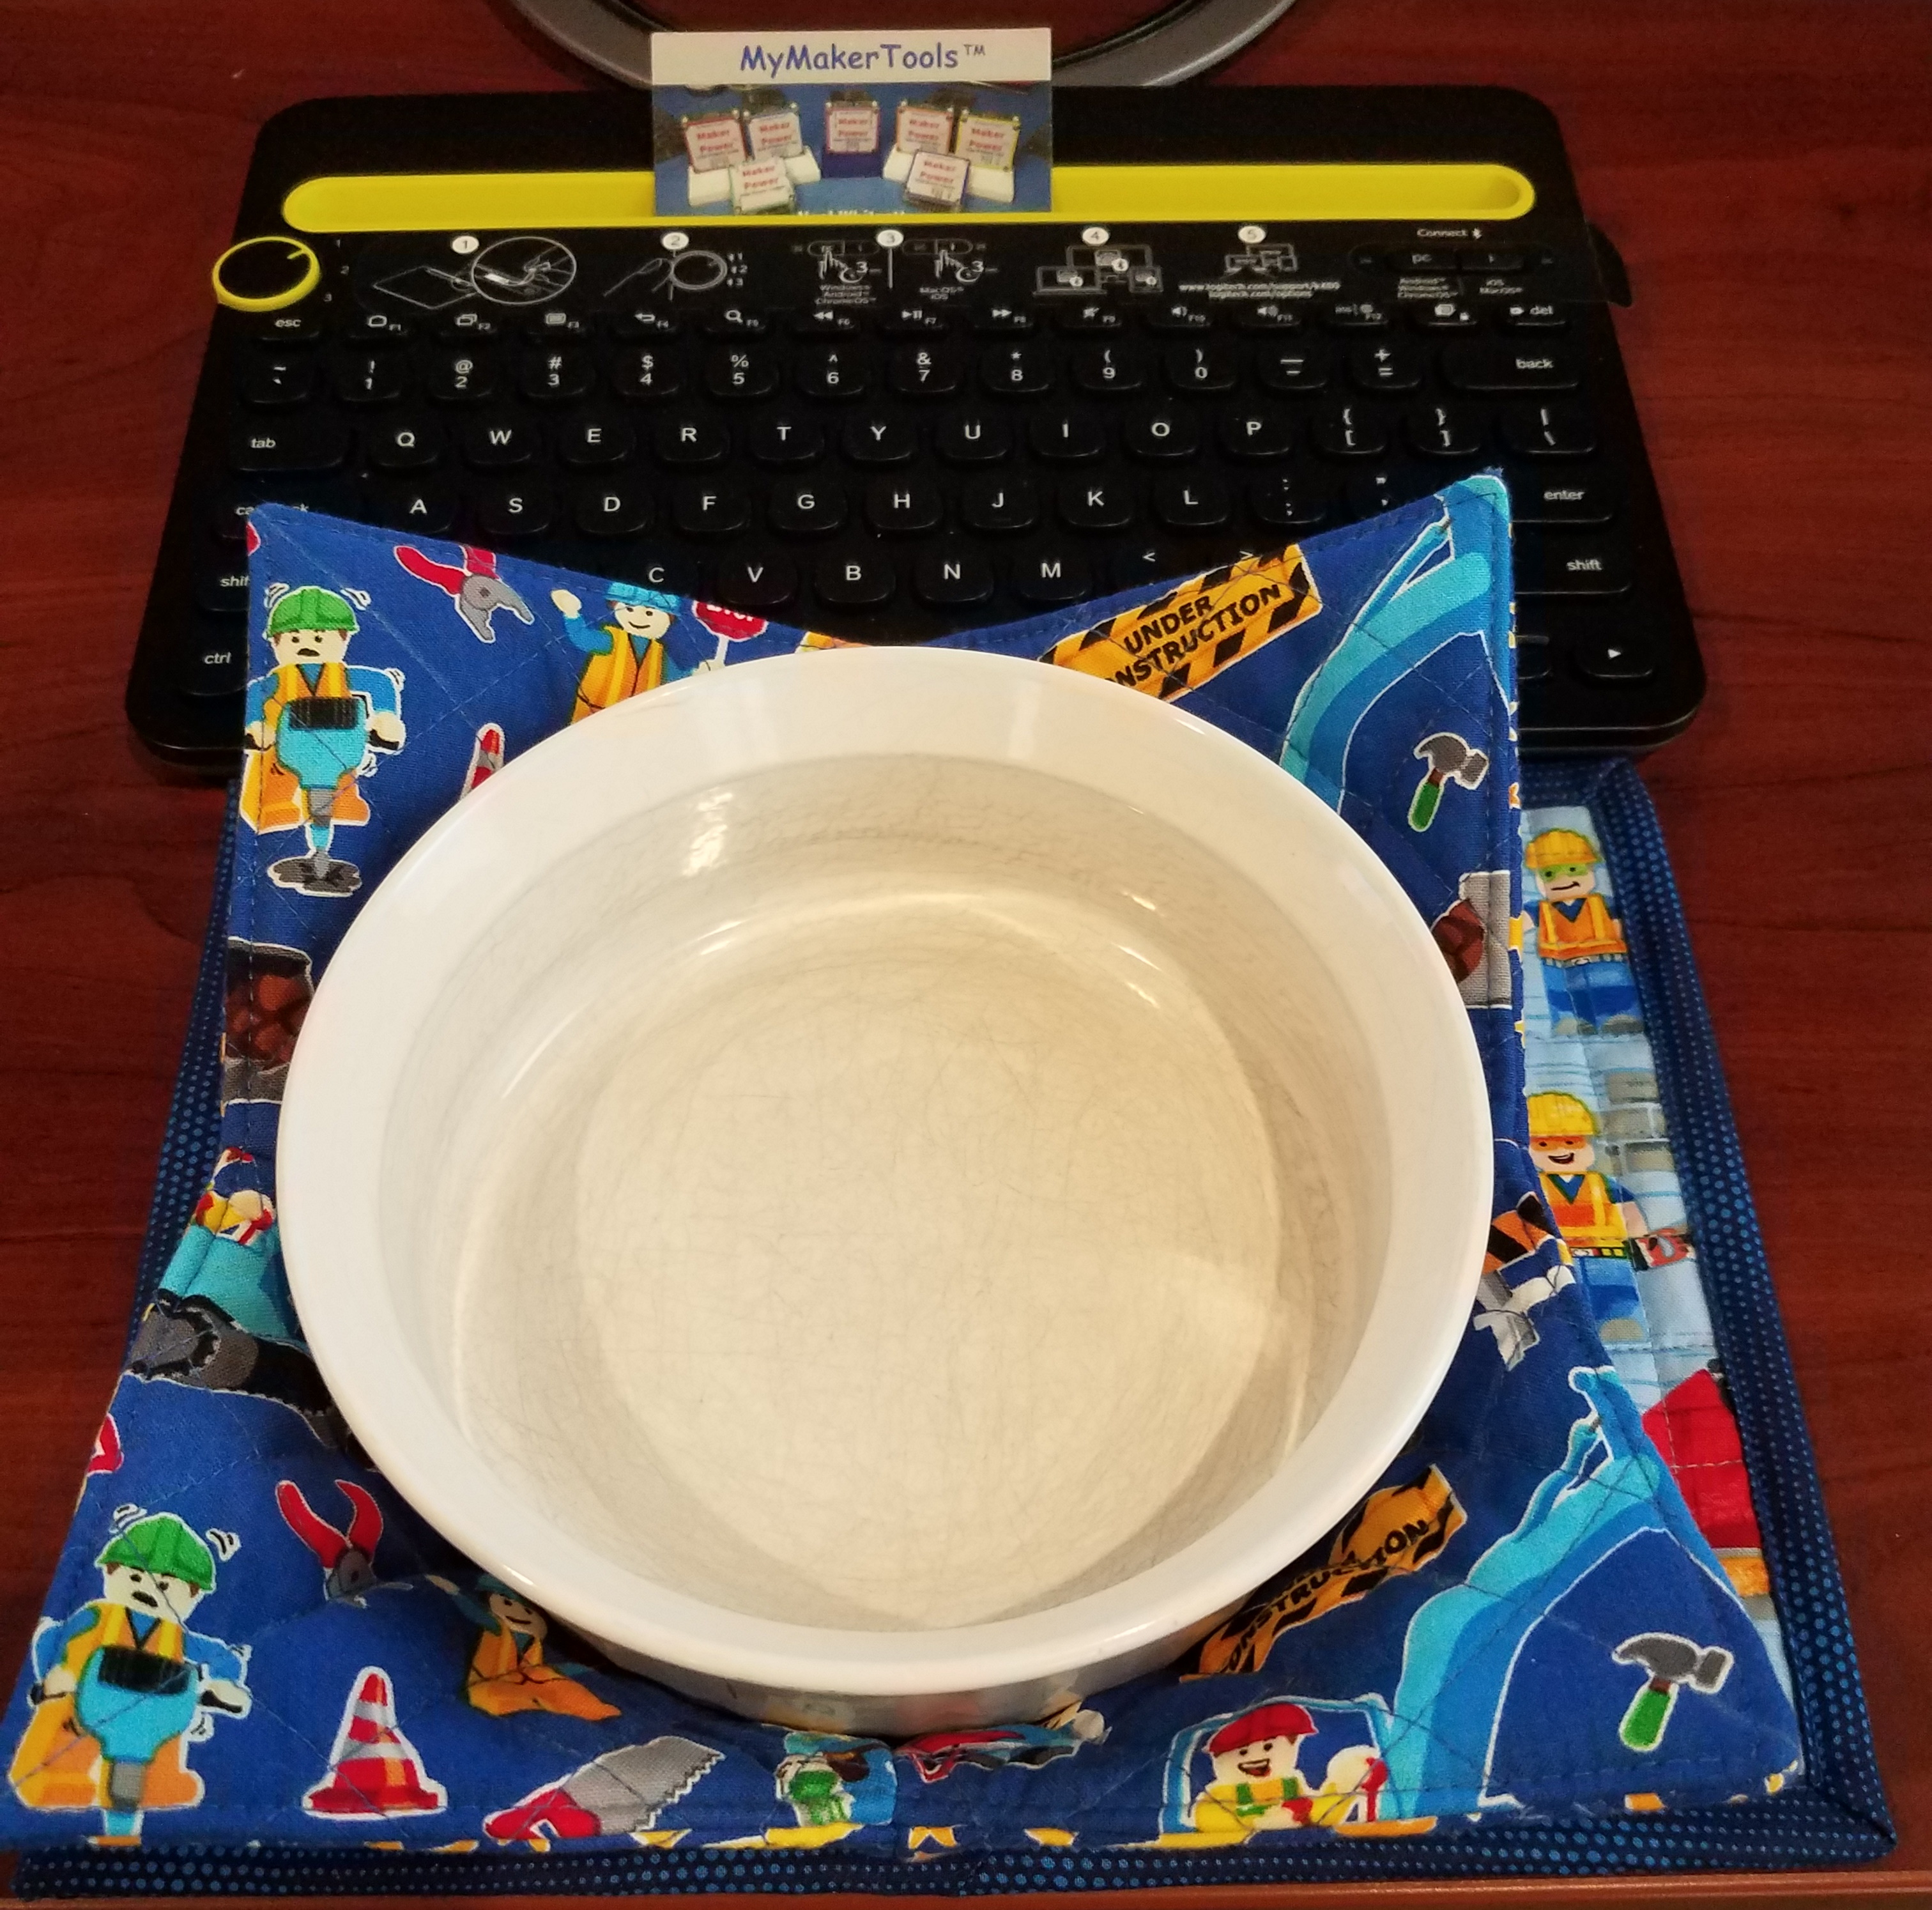
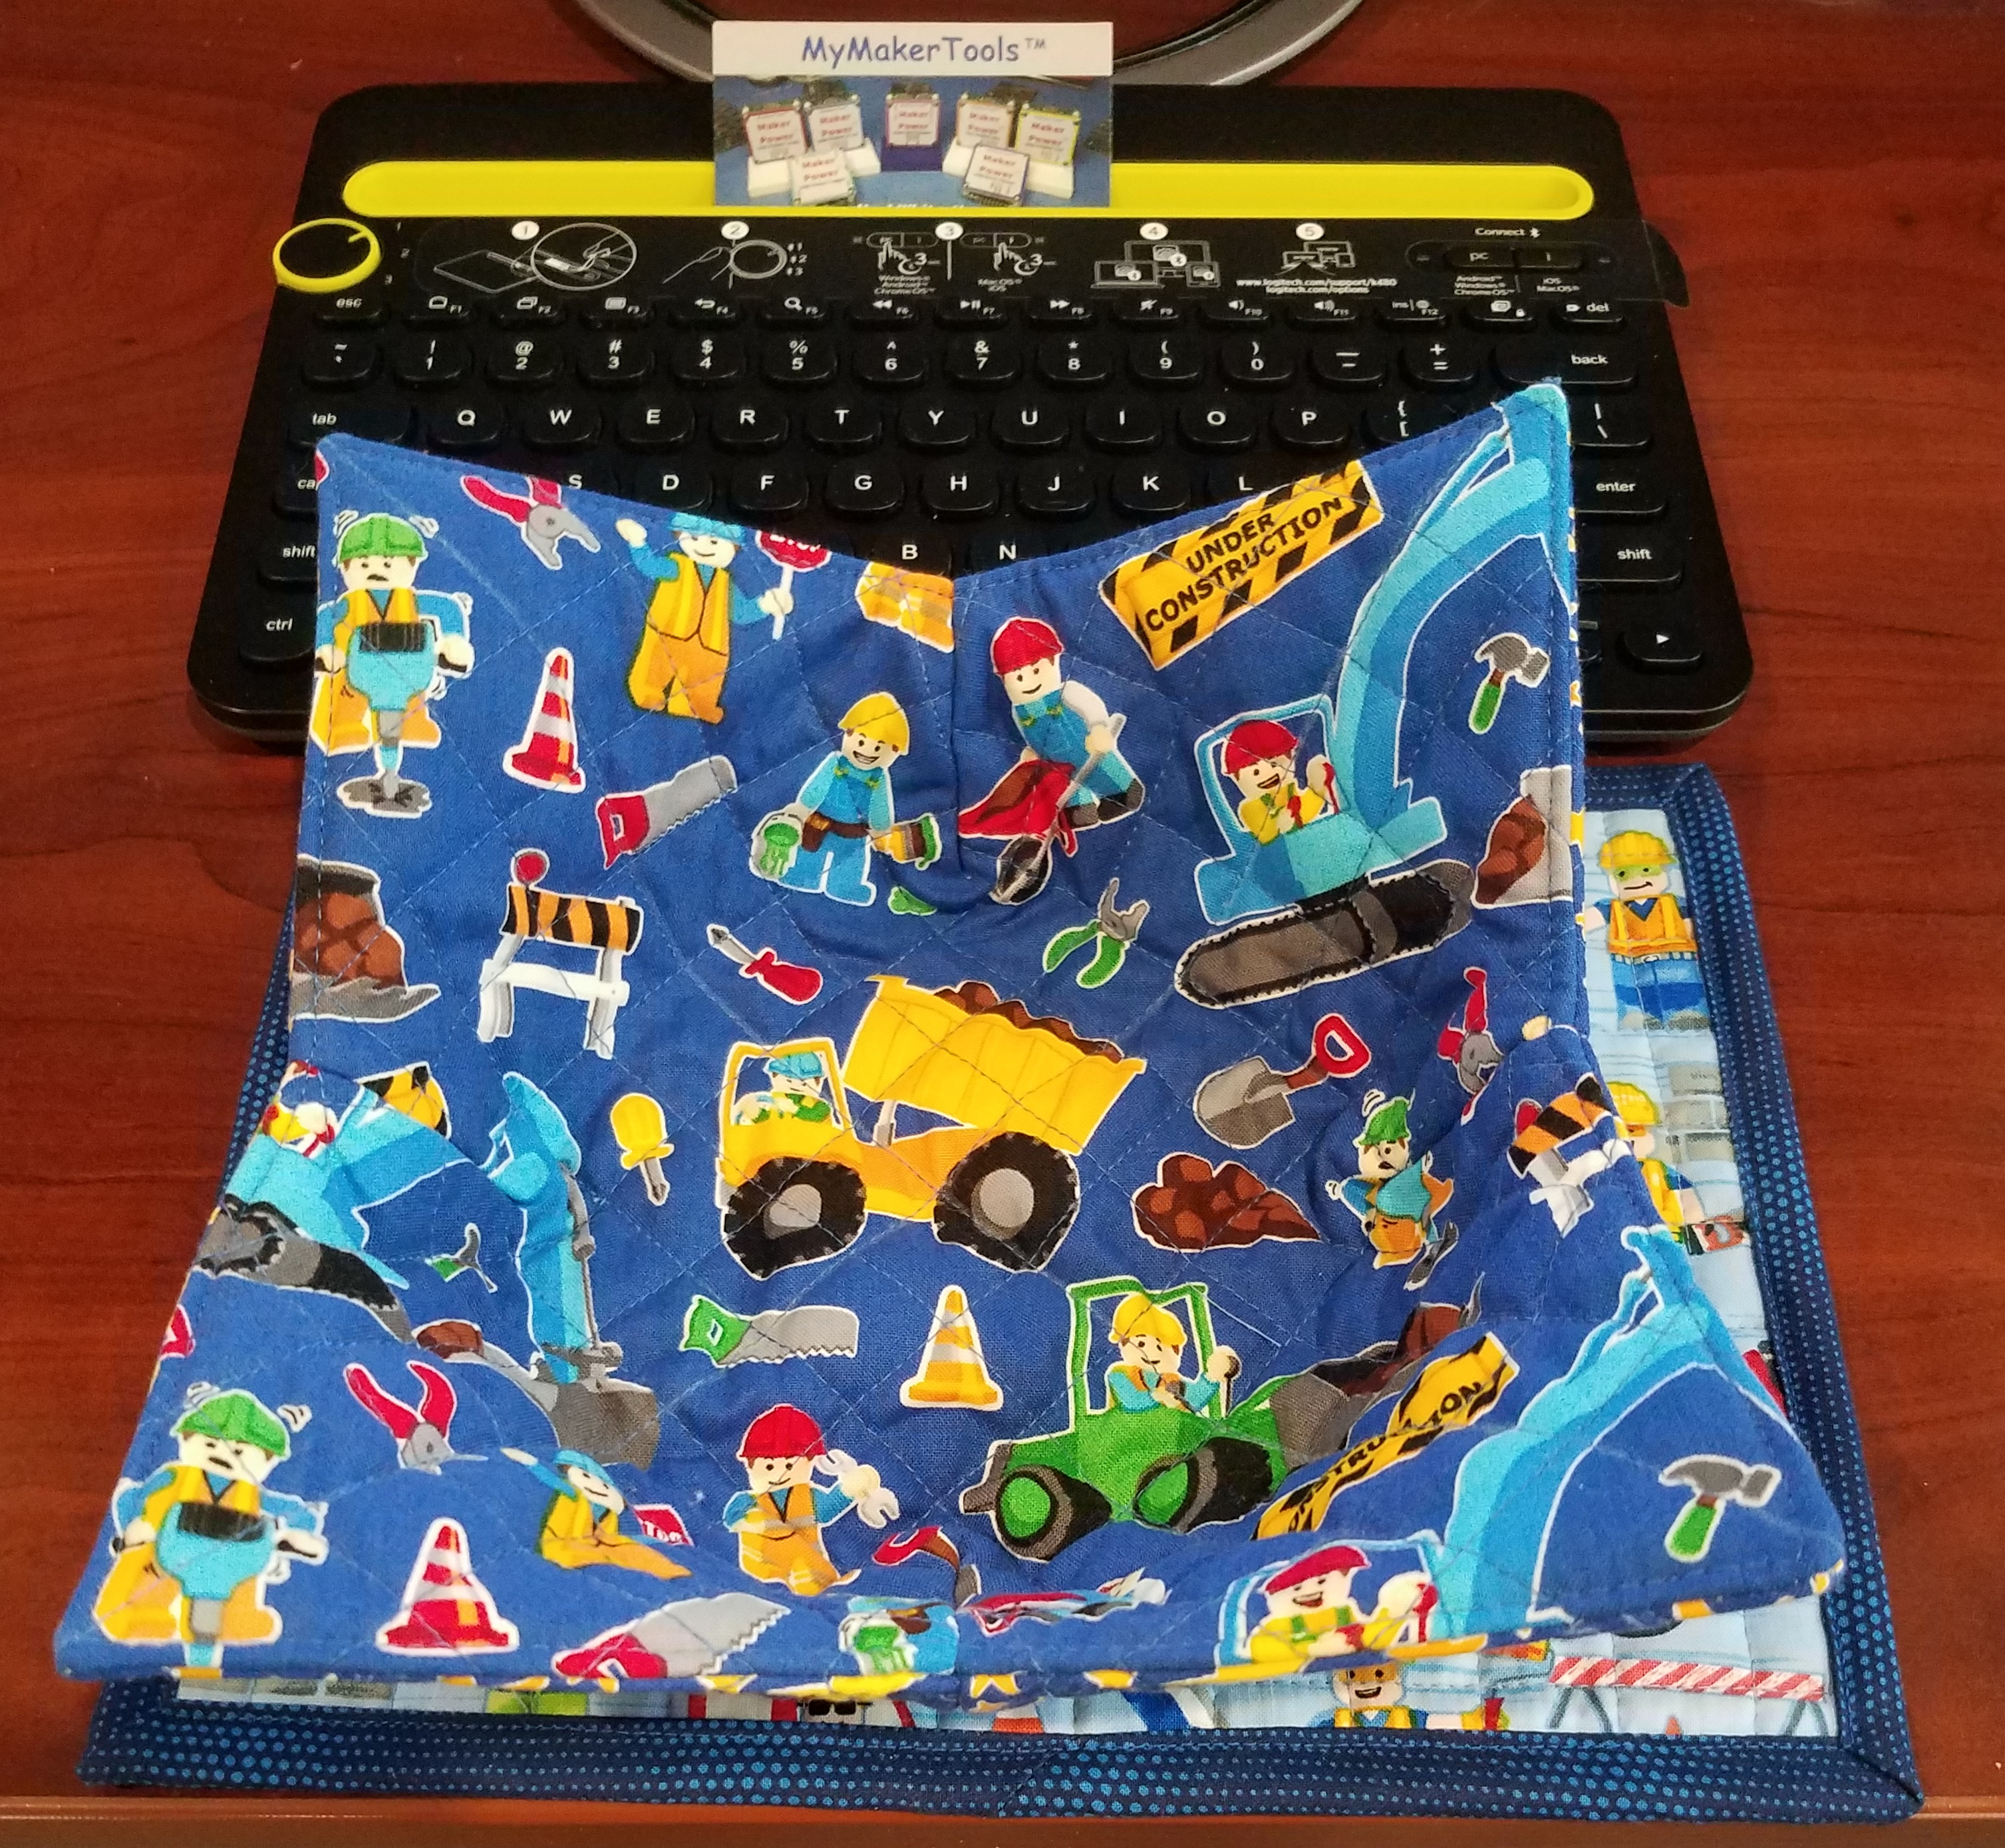
Snack Mats


Bowl Cozy


Brick Themed Shirts for Adults and Children


Minifigs

We have been downsizing everything.  Long story, so the younger ones have decided to divest some of there childhood collections.  These Minifigs are the ones they are willing to part with.  There will be some good deals.


Sunday, June 19, 2022

LED Wiring

With the new LED light devices, there is a lot more flexibility on how to put the wiring in place.  There are two major types of placement.  Either in the ceiling to light a room or on the floor for up-lighting.  


Originally this is how I have been wiring LEDs into the MOCs.  All of this wiring is the 30 gauge wire from Amazon (see here for information on wiring).  Keeping the wire in place is the first requirement.  You do not want the wire to fall down.  This 30 gauge wire with a silicone jacket is more likely to stay in the grooves than the smaller/bigger wire.  But crossing a plate joint will cause problems.  The issue with using regular plates as in the pictures above, is that all the space is taken up up by the stud and the plate portion of the 1x2 plate.

Here I have used round 1x1 plates.  There exists a small gap that is large enough for two wires to go through. The picture below provides a better view of this.  Since it is very difficult to see these, the choice of color is not important.  If they can be seen, then we need to try something else.

Hiding wiring can be a challenge.  Then I asked how would you hide wiring in a real building.  You put it into the walls or if that is not possible, the wire is placed in conduit.  That gave me an idea of how to construct conduit in LEGO.

On the right side of this picture you can see the start of an idea, by using these modified plates with a pin hole.  In this picture I am only using these to guide the wire, but you could have placed then next to each other to form a continuous path.  What is missing here is how to make the turn.

This picture shows two plates side by side forming a continuous path for the wire

Finally this picture shows conduit running down the height of the building.  This is my first attempt at this modeling technique.  The short run on the left is design I leaning towards.  Light bluish gray round pin connector in 2L and 1L supported by the dark bluish gray plate with pin hole.  The longer run on the right was built out of parts I had on hand.  The ideal length between plate holders is 2L-!L-2L.  What is now entirely obvious is that modeling conduit has to be part of the building design ( as it is in real life).  Going back and modifying is difficult, since the plate holders have to be a certain distance apart for this modeling technique to work.

In another installation type, I made a light bar of sorts.  Using a 1x10 plate, I mounted a LED 1x1 on either end using super glue.  Then the wiring is run between the two LED 1x1 devices and finally a set of wires off of the left end.  As discussed earlier, this 30 gauge silicone wire will probably stay in place unless the wire is pulled.  Since the wire between the two ends does not go out side of the plate, there is no stress on it.  You could put 1x1 plates in the tubes, but they will only go half way across the wire laying in the trough.  This is probably good enough, unless there is considerable stress on the wire.

Now I can place this just about anywhere


These are but a few ideas.  I am looking for a more generic type of conduit.  There are several flexible hoses that might work, which would also provide a right angle turn feature.  More later.


Monday, June 6, 2022

Android Fun

android robot icon

Well once upon a time, it was very easy to develop, test and push into the PlayStore.  I guess Google became jealous of Apple and its layers of requirements.  I spent the last 3 days trying to move one app (TDust) into the play store.  I freely admit that part of it is truly my fault for not keeping the apps up to date.  So trying to move from API 24( Android 7) to the current required API 30 (Android 11) and 64 bit versions has been fun. I can test on Adroid 7, 8, 11 and 12 with the devices I have.  I actually went to Best Buy and bought an unlocked phone, Samsung Galaxy A13.  It was $165 if you activate it and $165 if you dont.  Naturally I did not activate.  It is more a less a mini tablet at this point.

I had already done the Permission thing before, but Google keeps changing the permissions required.  When permissions were implemented, to use BLE you need to have location permissions. I suppose it is because there is small possibility that the location of the phone can be determined.  But this changed as the APIs advanced.  First it was coarse location then fine and now coming in API 31 (Android 12) no location as long as you swear on someone's grave you wont use BLE to find the phone's location😎.  Actually they are completely revamping the permissions around BLE with specific BLE permissions, which makes more sense.

I am only complying with API 30 and the new App bundle requirement for now.  This is good for new apps until Aug 2022 and Updates until Nov 2022, at which point it is API 31/32.  With the price of gas, won't be making many trips this summer, so I will have some time on my hands to work on API 31 and 32.

When I went all the way to API 30 and using the very latest Delphi version, 11.1, it all failed big time.  The program crashed, the debugger failed, it was a mess.  I am using the Delphi compiler.  As I have said before, been using this for 30+ years, old dog not going to change now.   So I went back several revisions on the compiler, to version 10.3.3 , used API 24 as the target SDK and the last set of code that worked from my SVN repository.  That worked on all the devices, though the newer Androids complained a lot when installing on the newer devices. 

So I slowly marched up the API list.  One thing I did was create a separate code module to handle the permissions.  That way once I figured it out, it would hopefully work for all my Android Apps.  When I got to API 29 (#10) I had to switch the compiler version to 10.4.2.  This is where permissions started changing and I had to research what was happening.  After two days I finally got it all working on API 29.  I am now one step away.  

At this point I had to change version of the compiler to 11.0.  This caused quite a few library types to change, but I was smart enough to implement conditional compilation so that I could go back and forth between 11 and 10.4.2.  This proved useful as API 30 did not come easily.  When I first tried the 11.1 version of Delphi, it would crash on start.  The debugger finally showed that the issue is in one of the units startup code, but I never tracked it down.  I did see in Embarcadero's Developer JIRA a bug report RSP-35804 and RSP-35919.  ( I realize not everyone has access to this, so I will try and describe it.) The first one concerned using location permissions (FINE and COARSE).  The later concerned BLE Discovery which also uses location permissions (FINE or COARSE depending on Android version.  Because the second on was essentially the same as the first one, most info is in the first one.  Embarcadero said it was fixed in 11.1, but people were still reporting the issue.  Basically there was some error in the JNI implementation of location gathering.

But for me, none of this showed up this time in version 11 or version 11.1.  I dont know what happened from the very first time I tried 11.1 and at the end of my slow march through the API levels.  I had other issues with compiler configurations, choosing the correct permissions (COARSE vs FINE) but it never crashed like it did the first time.  All I can say is that the app finally worked on all the devices with API 30 as the target.

Then uploading to the Play Store became another fun thing.  You cant upload APKs any more they have to be in the new App Bundle format. And now signing/encrypting the App is not good enough, the upload has to have a key also.  They can be the same, but they recommend against it.  Well I converted my existing key to the format they wanted but could not figure out how to generate a separate upload key.  So for now they are the same.  Supposedly I can change the upload key, I just cant change the App key.  I uploaded the app and then the Play Store went nuts about a permission, LOCATION_BACKGROUND.  I had read an item in Stack Overflow that it was now required, but Google wanted to know why I was using it and to provide a 30 sec video showing how it was used.  Then a week or so they would get back to me.  So I deleted the upload, went back removed the permission and tested again.  It all seemed to work.  Upload this new version, no complaints and it was published.   So either the StackOverflow and the approved response misinterpreted the Android spec or Android in not following the spec. 

But it cant end here.  I then tested the install on the devices. The older devices were still installing the older version, dont know why.  Something I have to look into.  But the 64 bit version just crashed on start.  So back to the devices.  The compiler keeps separate configs for debug and release.  I had failed to test the 64 bit release version.  Found a setting in the 64 bit release config that was wrong.  Once that was fixed, the 64 bit devices started working.

I still need to find out why the new 32bit version is not installing.  You would thing this is not a big deal, but............  The Samsung A13 I bought at Best Buy is an ARM8 64 bit, but they installed the 32 bit version of Android.  So even if Google is screaming 64bit to everyone, some of the big guys are still installing 32 bit OS, even on 64 bit ARMs.