Saturday, April 22, 2023

Brick Days 2023 - Day 1


It was a great opening day.  Large crowd, lots of questions and very big eyes on the children.  Everyone had a good time.  This update will be simple, lots of pictures.


Thought this was interesting use of color.

A junk yard, maybe.

The Star Trek maintenance yard

A look down main street.


A civil war some where, with Mecca Godzilla vs the Transformer.

A row of houses.

Every year the have a build'm and race'm for the kids.  In the background you can see a table white Lego with wheels.  Build your car and then race it on the track.

Van Halen did a concert today.

Another row of houses.

Harry Potter in the house.

More Potterville.

Not sure what this was.

Micropolis

Interesting use of colors and surroundings.

While this is called Brick Days in Omaha, the convention is actually in Council Bluffs Iowa.  Thus the Iowa state capitol.

A look down the main line.

These next three model an aquarium.  The creator won one the best in show awards. These pictures do not do it justice. It was stunning and at night it glowed.


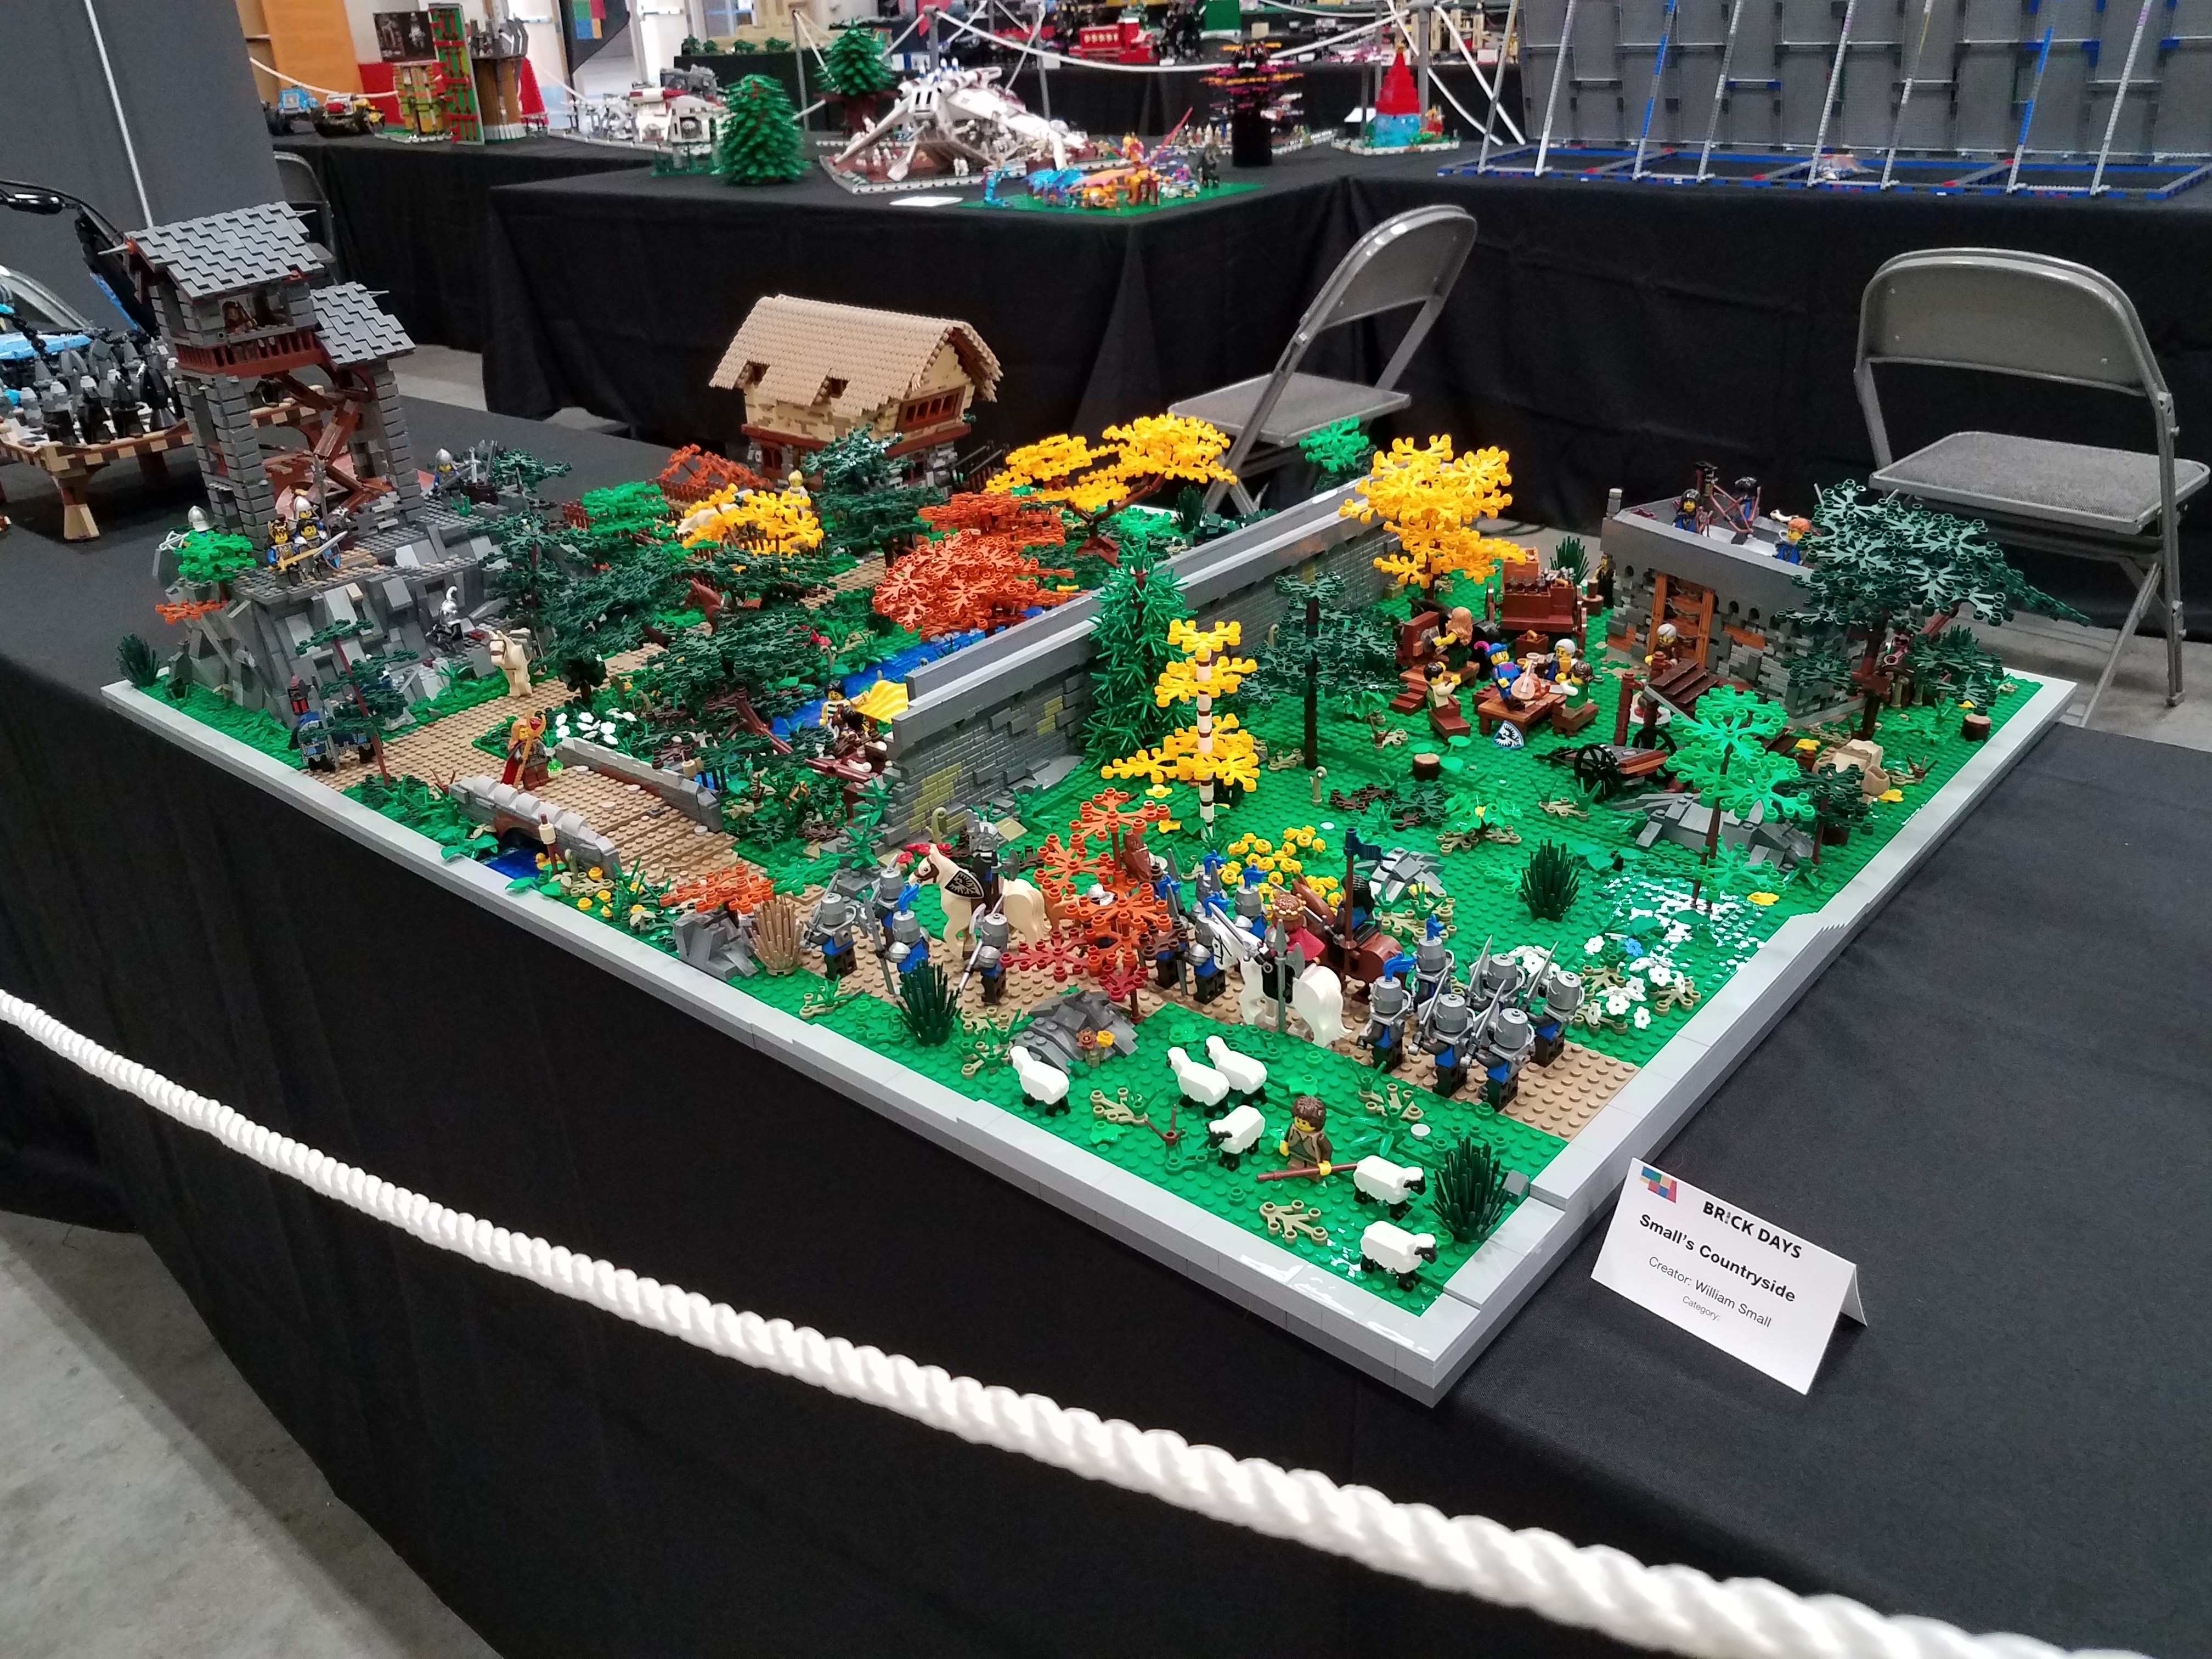
Let's see, two workers and three supervisors drinking coffee.  All that is missing is the doughnuts, maybe next time.

Is it a mosaic of the Animaniacs......................

or is it a mosaic of Pinky and the Brain?  You tell me!

Retired Lego Themes.

Is this picture even legal and how much trouble can I get into for showing Area 51.

More tomorrow.


Friday, April 21, 2023

Brick Days 2023 Are Here


 Well we started with a bunch of boxes at 9:30AM and at 5PM we were here

And here is what happened in between.

Unpacking in the correct order is important.  There was lots of room on the table, but not lots of excess.. 

Basically every module had its own box.  The only exception was the large entrance that was in a 64qt container along with a cliff and all the entrance attachments. 


After 1300+ miles, some things came loose.  So there was some rebuilding.

When trying to line up black parts in the shadows, you need extra light.

Balancing the generator on the crane.


Getting closer.

And here it is finished.

The Well Generator.  Ends up the Blue LEDs I am using have a strong UV component (not unusal actually) and the transparent neon green visors will fluorescence under this light.

A patrol returning to the Space port.

The large Space Gun and the Vertical Generator.

The Main entrance.

The horizontal generator.

The original module.

A look at the crane section lowering a new generator for the Ray gun module.

And in the back, a group of maintenance workers work on finishing the flooring fpr the hanger, while a group of supervisors look on with their coffee.

Two hangers with units under inspection.

An empty hanger that just finished construction.

On top a patrol squad doing PT while two workers try to wrestle a rogue droid..

A view of the generator being installed.

The new Ray Gun module.

Tomorrow what everyone else did.


Wednesday, April 19, 2023

Brick Days Omaha - Almost here


Brick Days are upon us.  We are on the way to Omaha.  Hope to see many of you there.  Here are some pictures from last year.


Tuesday, April 18, 2023

Detailing the Sapce Base


Here is some of the final detail.  I applied stickers in four places

  • The Blacktron Logo in the center
  • Computer screens on either side and up high.  Used the standard hinge to give them a tilt down.
  • The large screen at eye level.

What I have done so far I will call Level I Detailing.  The area to either side of the main screen looks empty.   Not sure what I am going to do about that, but that I will call that Level II Detailing.  Right now I am making a first pass through the Space base adding detail and making sure the color choices follow the design choices.

Here are a few things I have learned:

  1. I tried clear gloss labels first.  They are OK, but you need a white background, otherwise the colors are washed out.  I had intended to use a black background, but that was a complete failure.  You could hardly see anything. 
  2. The sheet label I did use was a matte type.  So the color is fairly good for my $70 HP2700 inkjet, but they don't pop out.  It doesn't really give the true appearance of a computer screen.  Next I will try a glossy type of label.
  3. While in this post, I like the effect that the hinged window created, I am now not liking the pillars.  They cover up the the two monitors that are high up.   Even I get rid of the pillars, the window frame will still obstruct these. I either remove the windows all together or they need to be extended to completely cover the opening.  Maybe with a door?
  4. The label printing is not as precise as the Lego parts themselves.  For example the top mounted screens are 4x4 or 32x32mm.  I am using Paint.net (Adobe Illustrator is probably better, but is more complicated than I care to learn) to build a blank canvas that size.  I then take pictures that are typically 10x and reduce to that size, both through reduction and some trimming.  I then place this graphic in a Word document along with other graphics.  After printing I use a rotary cutter to cut them out.  After applying, the white edge will sometimes show.  I use a black marker to fill in any white showing, which works great considering the sticker is applied to a black tile.
  5. You can see the light just in front of the Balcktron Logo.  The picture below also shows it, this was before all the stickers were applied.  Well the light is uneven in this area and is washing out the Blacktron Logo.  I need to move this light to between the Blacktron Logo and the monitor.   Then balance it with a light on the other side.  Not hard, just time.