Tuesday, June 20, 2023

Brick Fest Live - Day TWO


 We definitely faired better than these two coming back from the last patrol.

I did not talk about attendance.  Saturday was actually very good and we were busy almost the entire day.  Sunday was also good.,  It was busy from opening time until abut 3PM, which is very typical of these events on a Sunday.  I am actually very pleased with the attendance.  There was lots of interest in what we are doing.  Also with Bricks by the Bay being canceled this year, this would be the only event in the San Jose area for the year.

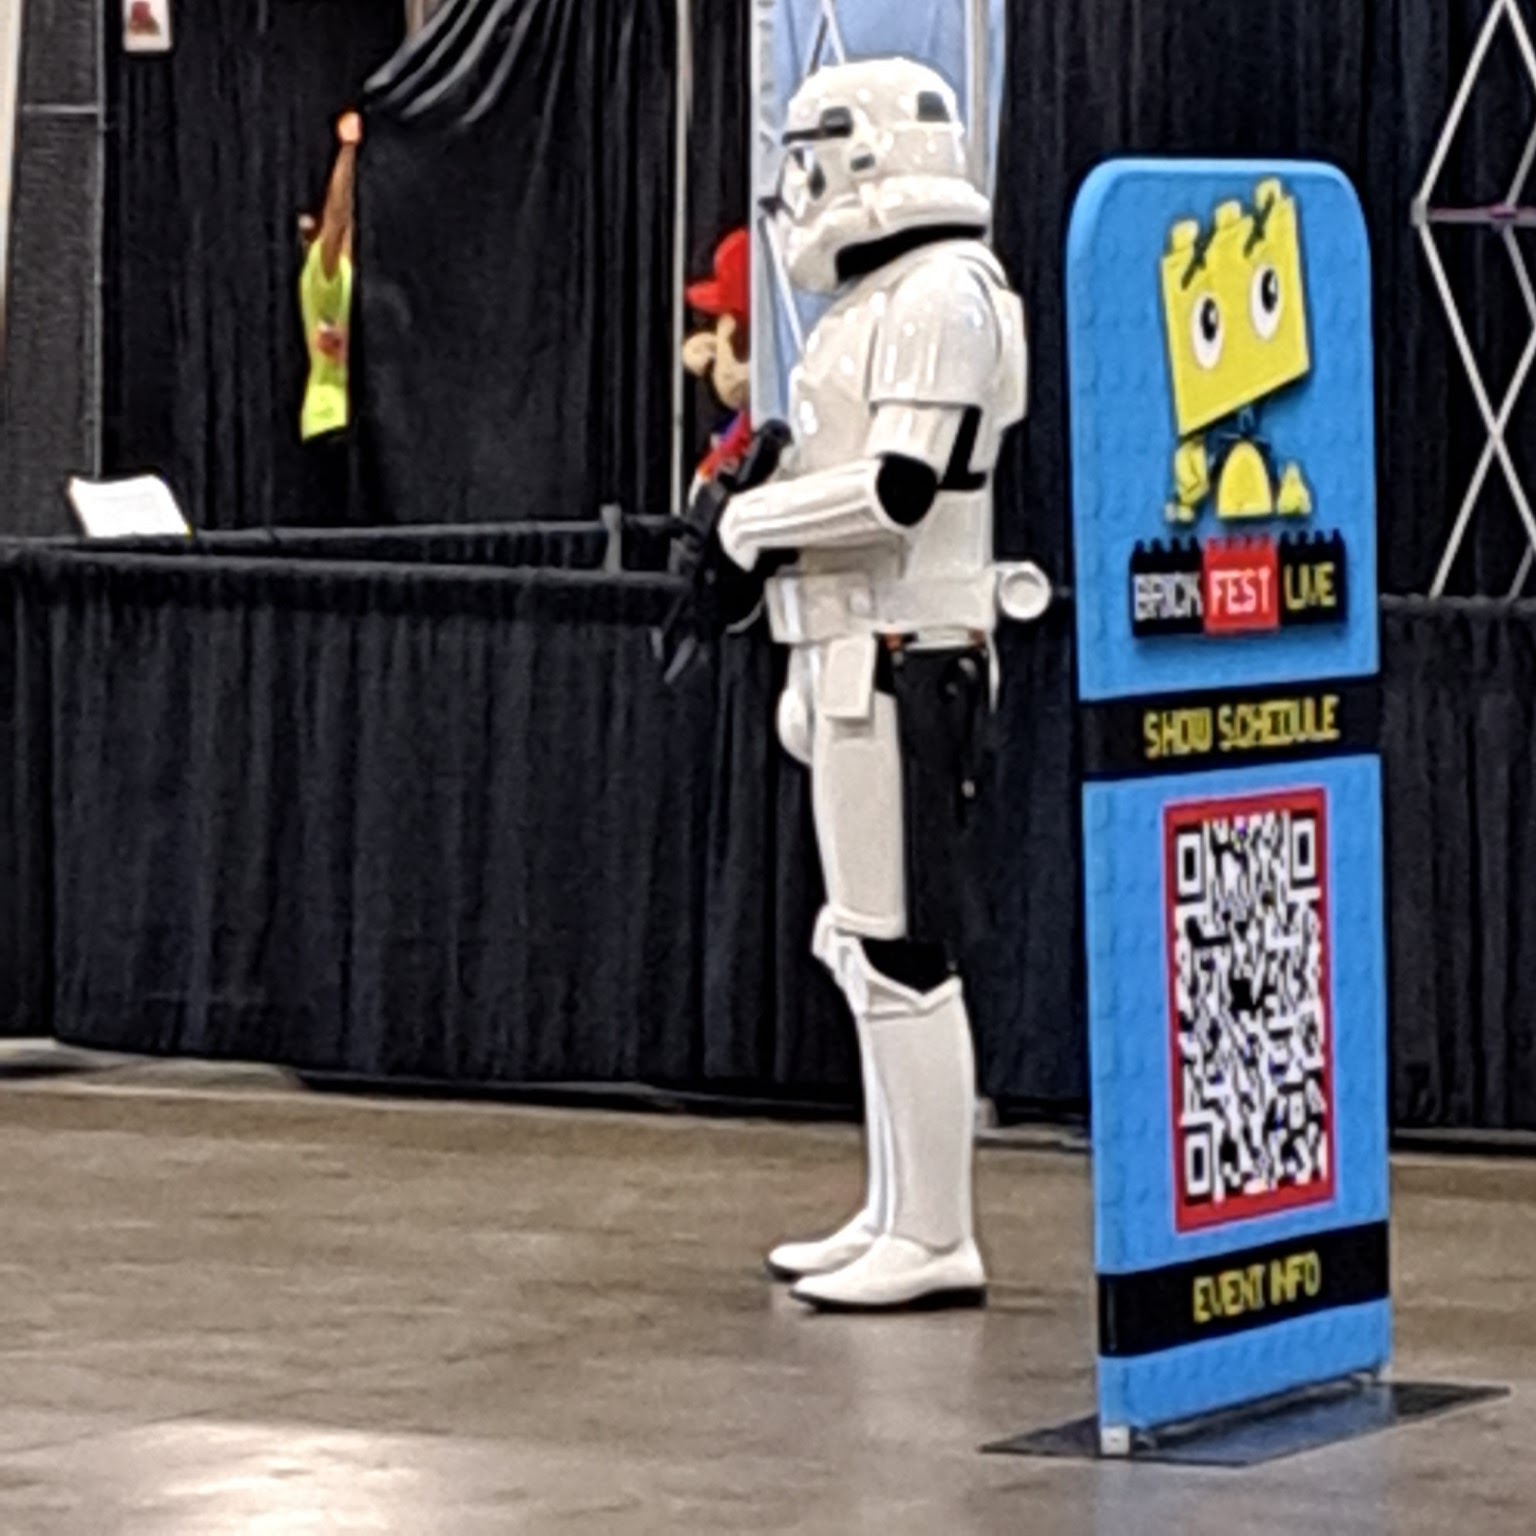
There were the standard Cos players.  Here we have a storm trooper, but there was also Mandalorians and First Order Cos players running during both days.

For those who had a VIP badge (paid the extra), there was the Brick Bot build area.  They kept this behind curtains, so there was no way to know exactly what was going on.  But the line was always fairly long.

What was very nice and is lacking at most Lego User Group Conventions, is the interactive activities for the public.  Now that the pandemic is mostly behind us, there were multiple interactive activities for the attendees.  Here are some of the build tables.


Another nice feature is the black light build area.  As we saw in Omaha at Brick Days with the Aquarium, using bricks under black light to add another dimension to the display.  Here are some more pictures of this area at Brick Fest Live.


This was a great success for us. We had a great time.  Met some very interesting people and dedicated builders.  So we are very happy.  Here are some closing pictures of the backside SL ONE.


And now we march off having completed the mission and get ready for another day.


Monday, June 19, 2023

Brick Fest Live - Day ONE


Day ONE starts with finalizing the detailing.  Above I have added doughnuts to the supervisors as the oversee the small workforce.

Here the alien population gets added along with a walker.

This is the rogue droid recovery.  One Worker holding the long pole and the other worker trying to capture the droid.  Success is yet to be determined.

Populating the blue patrol groups and we are ready to go.

What about Brick Fest in general?  Well here are some of the activities they offer.

A huge pit of bricks.  This ended up with about twenty people in it most of the time.  Some "snow angels", but mostly people just building creations out of the bricks.

For those less adventurous, there were traditional build tables with lots of different bricks.

For the artist, there was a large black light section with about 75% of the bricks the type that will fluoresce under black light.  You could build a creation under the black light, then they had another space where you could leave it for attendees to look at.

A car race setup.  They had four raceways with 5 lanes each.  They gave each person just a few minutes to build a car, then they raced them.  No prizes, just bragging rights.

More build tables.

A message wall.

This was very interesting.  A large mural on the floor.  Each person is given a base plate, access to tiles and plan for the base plate.  Each one is numbered. The person builds up the base plate and then it is placed on the floor in the appropriate place.  Kind of a jig saw puzzle, but different.  Then as time goes along, you can watch the mural fill in.  It took all day to do this.


We will wrap this up in the next post.


Friday, June 16, 2023

Brick Fest Live - Setup


Spent the day setting up in the Expo Hall of the Santa Clara County Fairgrounds.  First load being wheeled in.

Now the unpacking begins.


First job is to get the center built and anchored.  This is the most important step in building the Space Outpost,.


Then I assemble the hangers that are behind all the cliffs.


Helps when you remember how they go together and don't have to go back an re-assemble
 

Here the right cliff side (front view) is done.The two hangers and the new spacer are all connected.   Power now flows through the hangers.  The changes I made to the power distribution  made a huge difference in setup.  To ensure that the power was connected correctly, I connected the power and left it on as built out from the center.  That way I knew if the connection was good.

And the front view.

Here is the right side with all the modules connected.  Because I wanted more of curve on the left side where the new floating platform goes, I used two shallow bends in a row.

A longer view of the right side while I work on the left side.

The left side coming together.

The technique is to connect the front platform to the cliff wall.  Then slide this into the existing structure.  This seems to be the easiest way to do this.  Then I use 2x8 plates to connect it all.

Here I am sliding the next section into place.

On the right side I used two large angle connectors to force the Space Port module as close to perpendicular to the front face as possible.  This is the first time I have done this, I wanted to see what will happen.  For this setup it is OK.  But if I expand the floating platform, the angle of this is going to be critical.. In this arrangement, adding in any direction except to extend on the current line will not work.  I was looking at three landing pads base plates and one interconnect road base plate.  More thought is needed on this aspect.

This shows the final arrangement. 

Long view from the left.


Long view from the back.

Long view from the right.

Front view.  At 4:45PM and 4 1/2 hours of assembly, we called it quits for the day.  Still need to do some detailing in the morning.

Finally the boys doing there daily PT.


Sunday, June 11, 2023

Floating Platform - Final


This is the final version of the floating platform, for now.  There is still more detailing that needs to be done.  Plus I have two more landing pads and 2 connector base plates that I hope to integrate in the future.  I had described some preliminary work done in these two posts,  here and here.

The 6 X 16 black plates arrived.  Above shows the final configuration of the supporting plates on the edge.   Four 8 X 8 plates and four 6 X 16 plates.

Then I filled the gaps with four 1 X 8 plates and four 1 X 12 plates.

This is the final fill.  Two 2 X16 plates, two 8 X 16 plates, one 6 X 16 plate and two 1 X 10 plates.  Since you cannot see the internal 6 X 16 black plate, that can be any color.  This will save money since the black ones seem to be more expensive.

The support frame did not change, except for adding more pin connector plates to attach the base plate to this frame.


The two pictures above show the corner connection with the T Lift arm as the feet and the pin connector plates that will connected to the plates

When I first did this as a concept, I never checked the height to see if it was close to the entrance on the Space Port module.   After noticing some sag in the bridge portion, I did some checking.  The platform was a plate to low.  So I added plates under the pin connector plates to increase the height of the platform.


Now it is at the correct level.

There is still a lot of detailing work that can be done.  But for now it is done,  

On to Brick Fest Live in San Jose.


Friday, June 9, 2023

Floating Platform - Update


I have made some progress on this concept.  At first I thought the lime 8 X 16 plates on the bottom would go with the pattern on the base plate.  But after seeing this, I am back to all black.  Black is the only color that will provide the floating platform illusion.  

To provide the support needed for the base plate, normal large plates are needed.  The corners are 8x8 plates.  In between will be either 8 X 16 or 6 X 16.  Cost is the driving factor here, since 8 x 16 in black is expensive for some reason.  In the center is a 16 X 16 plate.  Here color doesn't matter since it is not visible and thus the least expensive can be used.  Finally four 8 X 8 plates are used to bind all the plates together.  The four corner pieces are attached to the top as are the 8 X 16 plates.  The two 2 X 12 black plates are insurance.  I suspect this will be adjusted one more time, once I get the 6 X 16 black plates. 


The frame is 1 X 15 lift arms connected using perpendicular connectors in each corner.  A 3 X 3 T Lift arm is used as feet. 


  The frame is connected to the platform using a pin connector plate.  The entire structure seems stable and can hold some weight.  The issues will be building things in the corners of the base plate where the studs are.  Since the frame does not extend that far out, it might tip the platform if it is not balanced.

Finally I will build a railing around  the platform.  Using the same concept as the railing throughout the Space Base, I used the transparent light blue bars.  This time I used the modified plate with ring to hold the bars.  This provides a more secure attachment.  The plate is attached to a standard 1 X 1 headlight brick.  The exception is in the corners.  Here I used 1 X 1 brick with studs on adjacent sides.  Now this does not line up exactly with the headlight bricks, but it is close enough.  The 1 X 1 bricks are attached to 2 X 2 jumper plates.  Then 2 X 2 black tiles go in between.  

For Brick Fest Live in San Jose this will probably not be complete.  So I will use the Maintenance team to show it is under construction

.