Tuesday, December 5, 2023

Space Gun Rebuild - Part 2

This is the wrap up of the Space Gun Rebuild.


The overhead section was redone back in April.  So nothing needed to be done here.  I did have to raise it one brick height so that it would clear the main Space Gun.  The Space Gun managed to go up slightly in this rebuild. 

I looked at different methods for securing the overhead section to the module base.  But as you can see here, there is not much room to do this.  Every idea I tried, always wanted space behind, which there is not any.  So I go with the simple connection there has always been.

The fourth motor is actually in the large turret and controls the elevation of the gun.  This needs to be redesigned, probably with a worm gear, but that is for another day.  The motor cable extension comes up through the base of the platform and then attaches to the the top of the platform, as shown above.  Because the bottom of the motor cable extender is the old 9V connector, it connects directly to the 2 x 2 space I left.  Then the power functions connector connects to the top. Neat and tidy.😊


Before the sand green tiles just extended to the back of the platform.  Now it stops and two small control areas are exposed.  

The front was also changed from sand green tiles to a more textured surface.  This also includes a grill track along each side of the main turret.


Then the front is various texture items, including remote control binoculars and two small dish antennas.


The results.  Compact, self contained and easy to setup.


Monday, December 4, 2023

Space Gun - Rebuild Part 1


 Since the cliff was finally built behind the space gun, it became time to rebuild the Space Gun.

Mostly because of this. This is the controller and the 9VDC power supply.  This controller goes behind the Space Gun and then underneath the cliff.  

Here you can see the controller sitting behind the Space Gun, this was never going to work.

This is what the inside of the Space Gun looks like. Being able to place a 4 channel motor controller in this space was not going to happen.  One of the approaches I have been working on is using 5VDC to power the motors instead of 9VDC.  Neither the original LEGO motors nor the Ebay replacements seemed to have an issue using 5VDC.  Don't know the long term effects.  I could not find anything during a quick search for this.

This book has been a valuable resource for ideas.  One of the great resources in this book is a table of gear ratios for the different gears.  After consulting this table, it was time to move to a worm gear.  They can give the largest gear reduction.  


These three pictures show the prototype implementation.  The worm gear drives the 24 tooth spur gear.  This in turn will drive a the small 8 tooth spur gear which finally drives the 400 tooth spur gear.  This gives a total reduction of 120:1.  Plus the 5VDC power input, this seems to make the right speed for these turrets. The 40 tooth gear is held in place with two Technic, Axle and Pin Connector Hub with 2 Axles, #27940. captured between two 1 x 2 bricks with axle holes.  The next issue will be placing the 40 tooth gear at the same height as the driving 8 tooth gear.  This is done by placing two Technic Bush 1/2 Toothed, Two Interior Ridges, #4265b on the axle.  This spaces the 40 tooth gear at the correct height.  Then another spacer keeps the gear down.

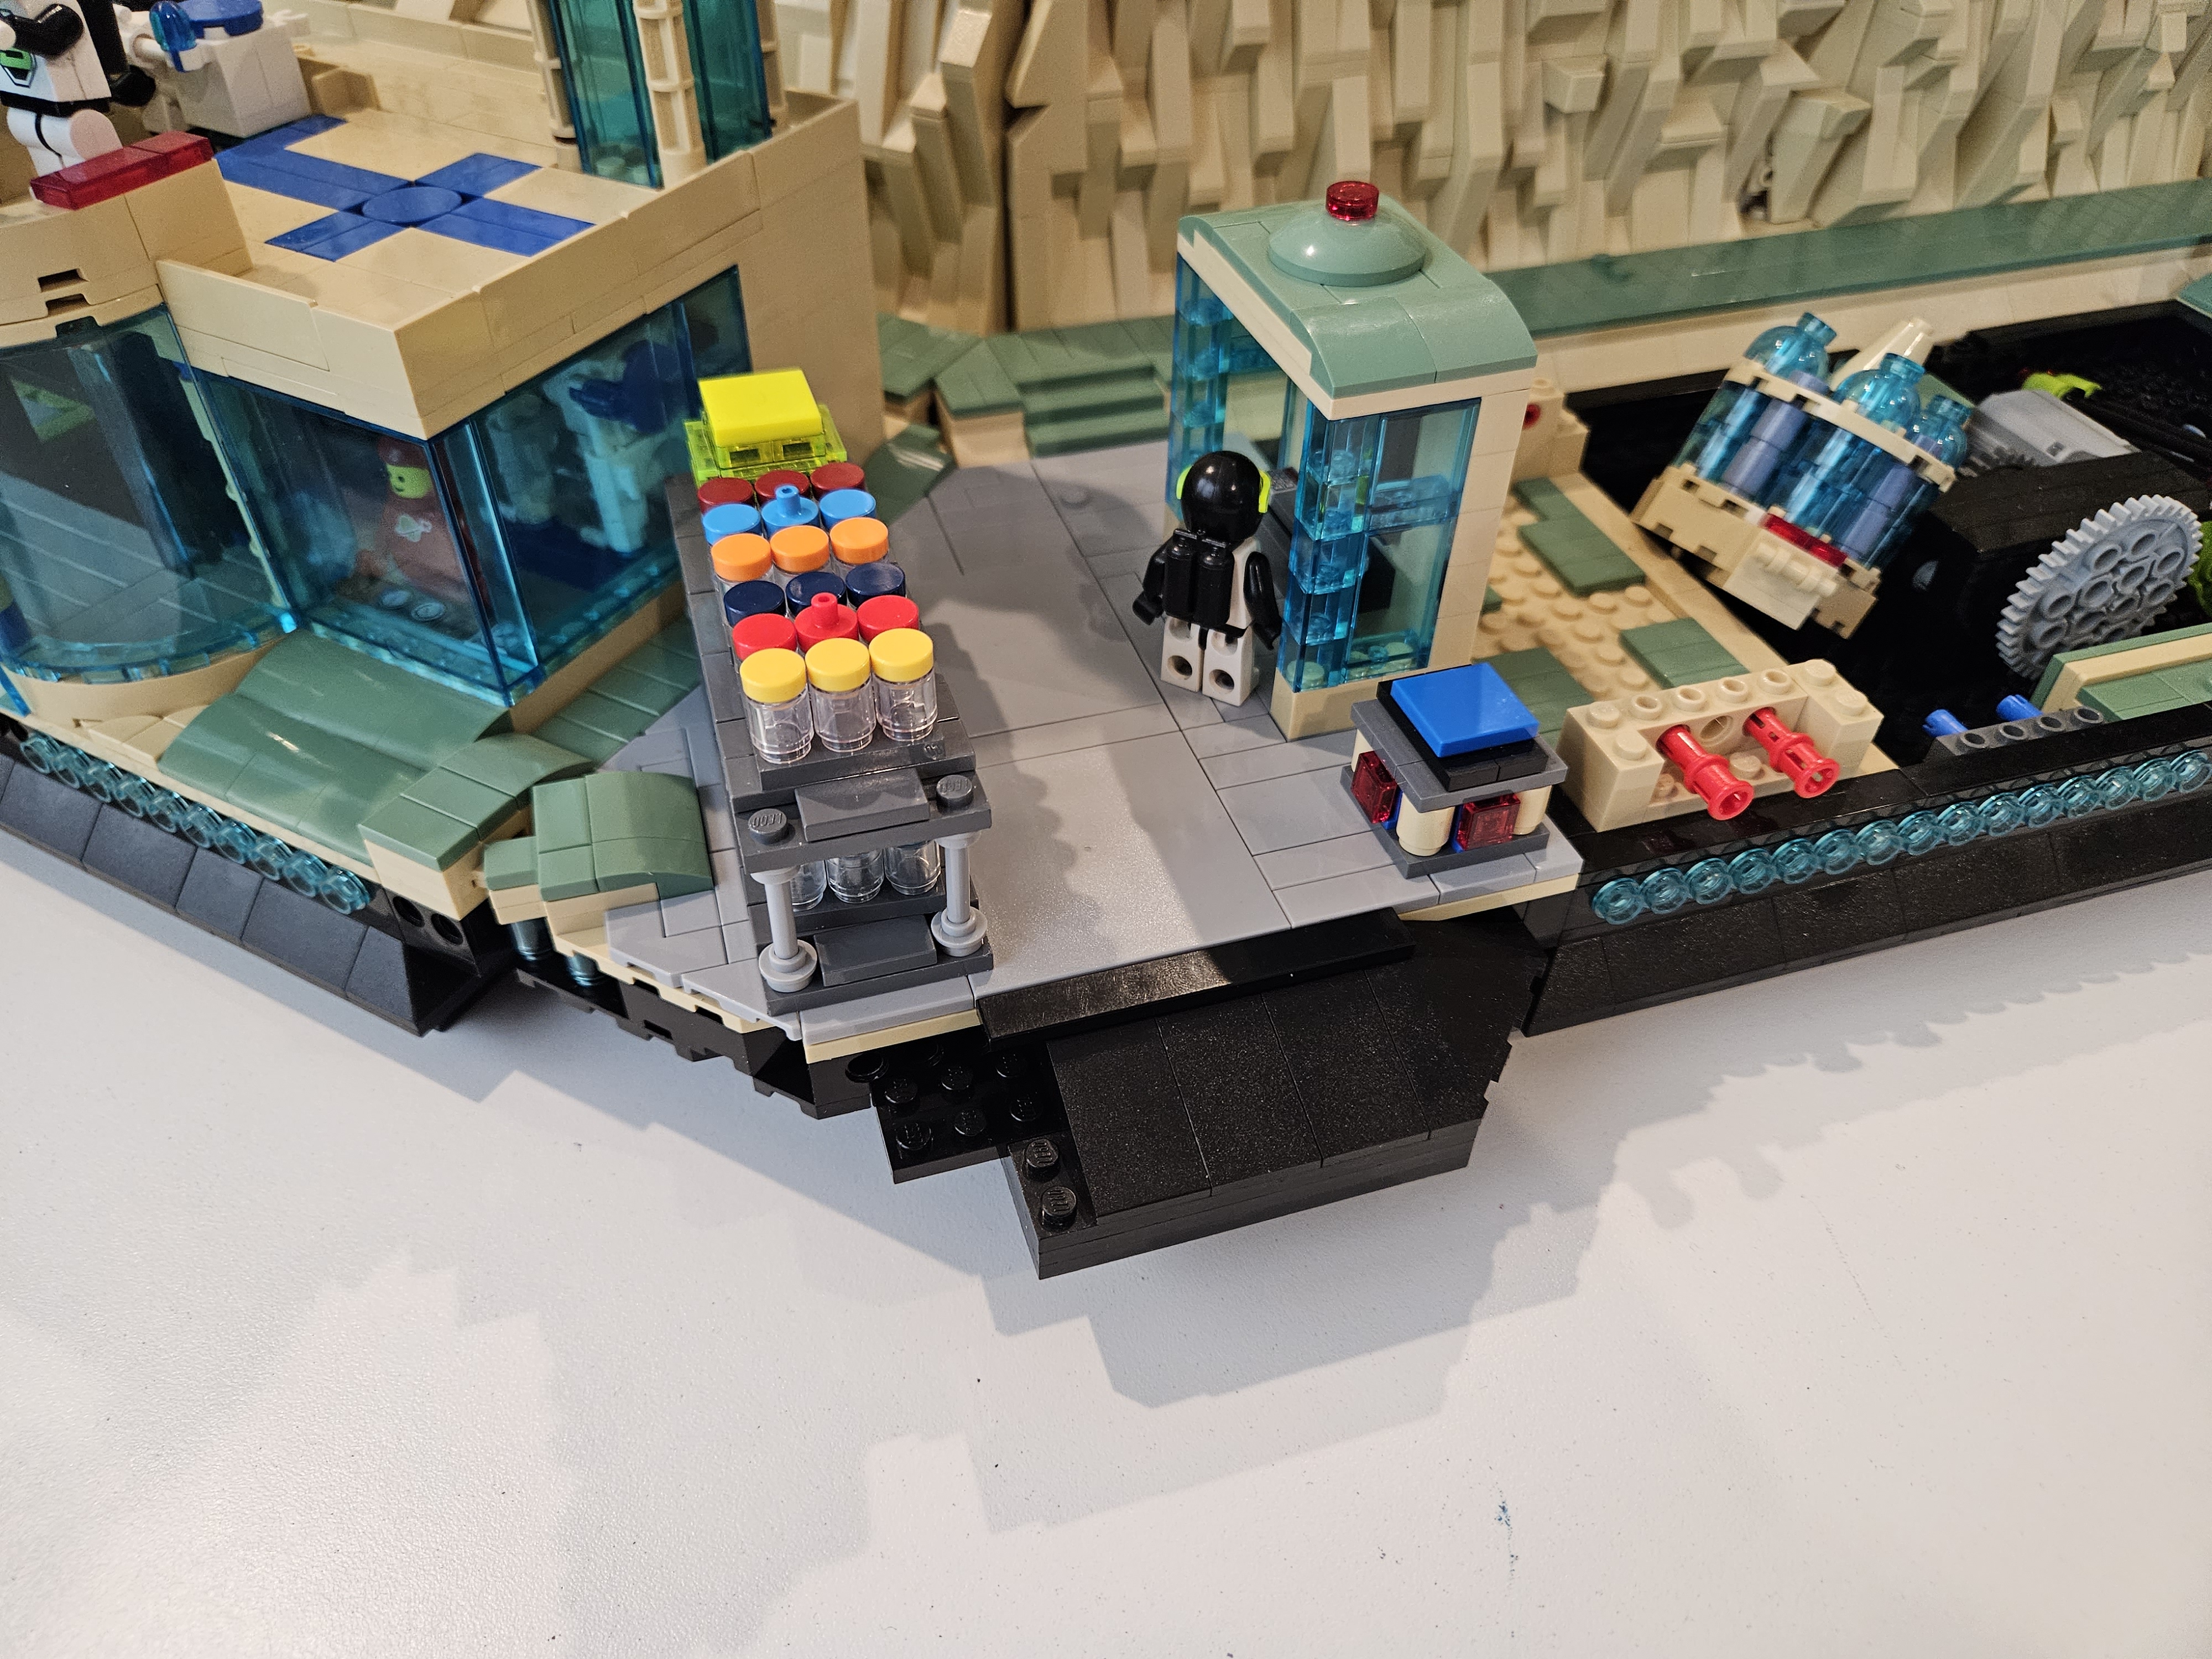
This shows the final implementation in the module.  I kept the turntable for the main Space Gun.  The turret is too large and unwieldy for the smaller turn table.

This picture shows the arrangement.  I used the 12 tooth double beveled gear to drive the turntable.  


Here is the complete module base with the three motors installed.


And this shows the module base with the controller installed and the motor cabling installed.


I can not place even the small turret on the 40 tooth gear.  The axle needs to be supported on both sides of the gear.  Thus I use a small turntable. What you can not see is the four 2 x 2 jumper plates in the placing the turn table hole in the correct space.  The hole needed to be offset 1/2 stud in both X and Y.  The L shaped plate shows where the axle will go through.  Instead of running the LED wire the entire depth of the module, to the back where the controller was, I now go through the top as soon as possible.  I originally was going to use a 2 x 4 technic plate with holes, but those holes are not big enough for the 2 pin connector I am using.  I created a 1 x 1 hole for the connector to pass through.


These two pictures show how the area is covered.

 More in the next installment.


Sunday, December 3, 2023

Brickpoolza


A LEGO® Fan Festival, Exhibition, and Celebration

December 9, 2023

Placer Valley Event Center

Click here for more Information


Brickpalooza is only 6 days away now.  We have been working on the display updates all week (which is why no Blog updates) and for the most part we are done now.  Minor detailing is all that is left.

Hope to see you there.


Friday, November 24, 2023

Loose Ends #1


 I am starting a continuous series of posts of just small items.  Things that do not merit a full blog post by themselves, but are none the less interesting.

Sorting through a Bricklink order.  This can take a while depending on the size of the order.  I still continue to spend at least 20% of my build time, sorting and storing bricks.  Either ones I just bought or cleaning up after a build session.

The beginnings of the shower facility next to the gym.  Still needs the white round tiles for floor tiling.  The area to the left will be a soaking tub.  The area to the right will be the changing room.


The hanger that connects to the dining/gym/recreation area is getting a partial glass partition.  Instead of the open type it was before.  It would be nice to come up with a door of some type for the lower section.  Also not sure about the color scheme here.  I am thinking that the light blokish gray brick and the tan support needs to be black.  Just not sure yet.

This is where the Kitchen/serving area will be.  There will be four large menu screens.  The four areas will be appetizers, main course, desert and drinks.  It is not a huge space, but is buried towards the back, so it will look larger than it really is.

And that is all for now.


Tuesday, November 21, 2023

Left Side Connector


This is the left side connector.  This is the largest platform connector in the display.  Relatively speaking, it is a large surface area.  Thus building a normal power scheme or control area just did not seem to be the correct choice.

And as a reminder, this is the normal type of connection.  My first thought was to build some kind of a loading area for cargo.  The downside to this idea is that there is no real entrance for the material.  It could be a temporary storage area.  


This was mostly just covering the left side with sand green tiles and the remainder with light bluish grey tiles to represent the armor plating.  Then I built a small maintenance shack and rack to store pallets. This picture and the ones that follow show this.  It also include a ramp area for  loading and a stair case to the walkway around the display.

 
The first visual that I saw was the back to the shack.  It just stuck out at me.  It did not fit into the scheme at all.
 

So I swapped the two structures like this.  It is better, but still not good. 

Like the right side, this is something I will have to come back and revisit.  


Monday, November 20, 2023

Right Side Connector


 This is first connector I am working on.  This shows the blank and the equivalent in previous connectors.  My first thought was a large control panel on one side and some form of power system that the control panel is monitoring.

I built a stand with SNOT bricks.  Then attached a 6 x 10 plate.  On the upper 4 x 10 section of studs,  I attached various decorated tiles.  On the top row,  I used decorated 1 x 2 "cheese" slopes, except they are facing down.  One row up from the bottom, I attached two 1 x 4 SNOT bricks to form a shelf.  Then placed more decorated tiles. 

Here is a close up of the control panel.

I went through multiple iterations of the power system.  The space is essentially 4 x18 studs. This shows one of the iterations.

This is where I ended up.  I am not particularly happy with this.  It is OK, but not what I was hoping for.  I can always come back and change this later.  Though I have some really small UV LEDs and if I can get them under the four antennas and the four cones (all transparent neon green), then this might look pretty good.

Here it is installed.