Showing posts with label Platform Connectors. Show all posts

Friday, February 23, 2024

Another Curved Cliff - Part 3


 The next step is determining the exact angle necessary to accommodate the curve.  This is done with wedge plates, but there are a limited number of angles available.  

I wanted to keep these two angle pieces.  They provide a sufficient bend without being excessive.


These are closeups of the two angle modules.


This picture shows the base of those two modules.  They are constructed on opposing 12 x 3 wedge plates.  A hinge piece hold the two pieces together.  This base provides a large platform on which to build.  This process was discussed in one of the first posts I ever did, you can read that post here.

But I can't put this on the cliff or the backing hanger space.  So I either rebuild the platform connector using a single wedge plate or find a wedge plate that is equivalent to these two wedge plates in this configuration.  As the photo shows I did this graphically, but I also did the calculation mathematically. 

It ends up that a 6 x 3 wedge plate is equivalent, as this photo shows. Now I have a single wedge plate angle to build the cliff on as well as the backing hanger space.


Tuesday, November 21, 2023

Left Side Connector


This is the left side connector.  This is the largest platform connector in the display.  Relatively speaking, it is a large surface area.  Thus building a normal power scheme or control area just did not seem to be the correct choice.

And as a reminder, this is the normal type of connection.  My first thought was to build some kind of a loading area for cargo.  The downside to this idea is that there is no real entrance for the material.  It could be a temporary storage area.  


This was mostly just covering the left side with sand green tiles and the remainder with light bluish grey tiles to represent the armor plating.  Then I built a small maintenance shack and rack to store pallets. This picture and the ones that follow show this.  It also include a ramp area for  loading and a stair case to the walkway around the display.

 
The first visual that I saw was the back to the shack.  It just stuck out at me.  It did not fit into the scheme at all.
 

So I swapped the two structures like this.  It is better, but still not good. 

Like the right side, this is something I will have to come back and revisit.  


Friday, November 10, 2023

Curved Cliff - Part 4


More progress, but this time it is not actually on the cliff wall or the plateaus.  This work was all in the front and concerned the platform connectors.  This picture shows the platform connectors I was using for the development work.  The two straight connectors are the ones I have used in the display for a while.  They are shown below.

The same goes for the small angle platform connector shown below.

The angle connector on the left side was a modified version of the large angle platform connector. I needed it to be 22.5 degrees so the standard 45 degree cut wedge plate pieces would work.  After looking at these and how they were performing, I decided that it was time to build a custom platform connector (actually two) for this curved portion.  The total distance covered was too great for just Technic pins to support the connections.  Buy building customs platform connectors, I can reinforce the platform connector so there is no sag.  And, I was going to have to replace these for the display if I used them, so I was going to have to build something.  Might as well as be these new custom platform connectors.

Here is where I ended up.  Right now they are just functional, no detail has been added.


Here are closeups of the custom platform connectors.  The largest area in the turn was added to the platform in front of the curved cliff section.  


Here you can see what was replaced.

Detailing these platform connectors is the next step.  These are much bigger than a standard platform connector.  On the left I am thinking about another ramp similar to the one I did for the floating platform.  Plus a staircase up to the walkway that goes around the display.  This could be some kind of loading dock.  The other one will be some variation of what it replaced, vents and a control panel.  A maintenance station would be the best description.  


Wednesday, November 1, 2023

Curved Cliff - Part 1

This hole exists on both ends of the display.  There needs to be a connecting cliff between the last module on the front and the next module (often the last module).  But turning a corner at less than 90 degrees with strictly rectangular pieces is difficult.

My first attempt at just building the base.  First I needed to add the six stud wide rectangular spacers.  The space shown above in the first two pictures is just too small to do anything useful with.  On either side of the module you can see these spacers.  (Since these spacers are ones needed elsewhere, I will have to replace them).  The turning module on the right side is the small angle.  Using either the small angle or the large angle one, made it too difficult to find the mating wedge plates for the back side.  So I used a 45 degree wedge plate to form the second angle.  I will discuss this build in a another blog post later.  For now what you see is a place holder so I can get through the more difficult part of building a cliff wall.

 
Here I added to the substructure and began the walk way.  This had to be broken up so that it would fit in the standard Sterlite box.  The connection is located where the four Technic bricks are.  The break is in the middle.  I did not like where the breaks were and I am concerned that there will inefficient use of packing space.  I then decide the center piece would be as wide as it could be on the far back end.  That is mating piece on either side of the center piece would be where the angle ends (not including the hanger sections).  
 
This is the final sectioning of the substructure.
This completes the substructure with the walkway.  The two places where there are no Sand Green tiles are the joints and will be covered with 2 x 4 tiles at display assembly.  Next I an going to start building the cliff wall.  When that is complete, I hope to have a better idea of how the area behind the cliff will look.


Tuesday, March 28, 2023

Platform Connectors with a Variable Angle


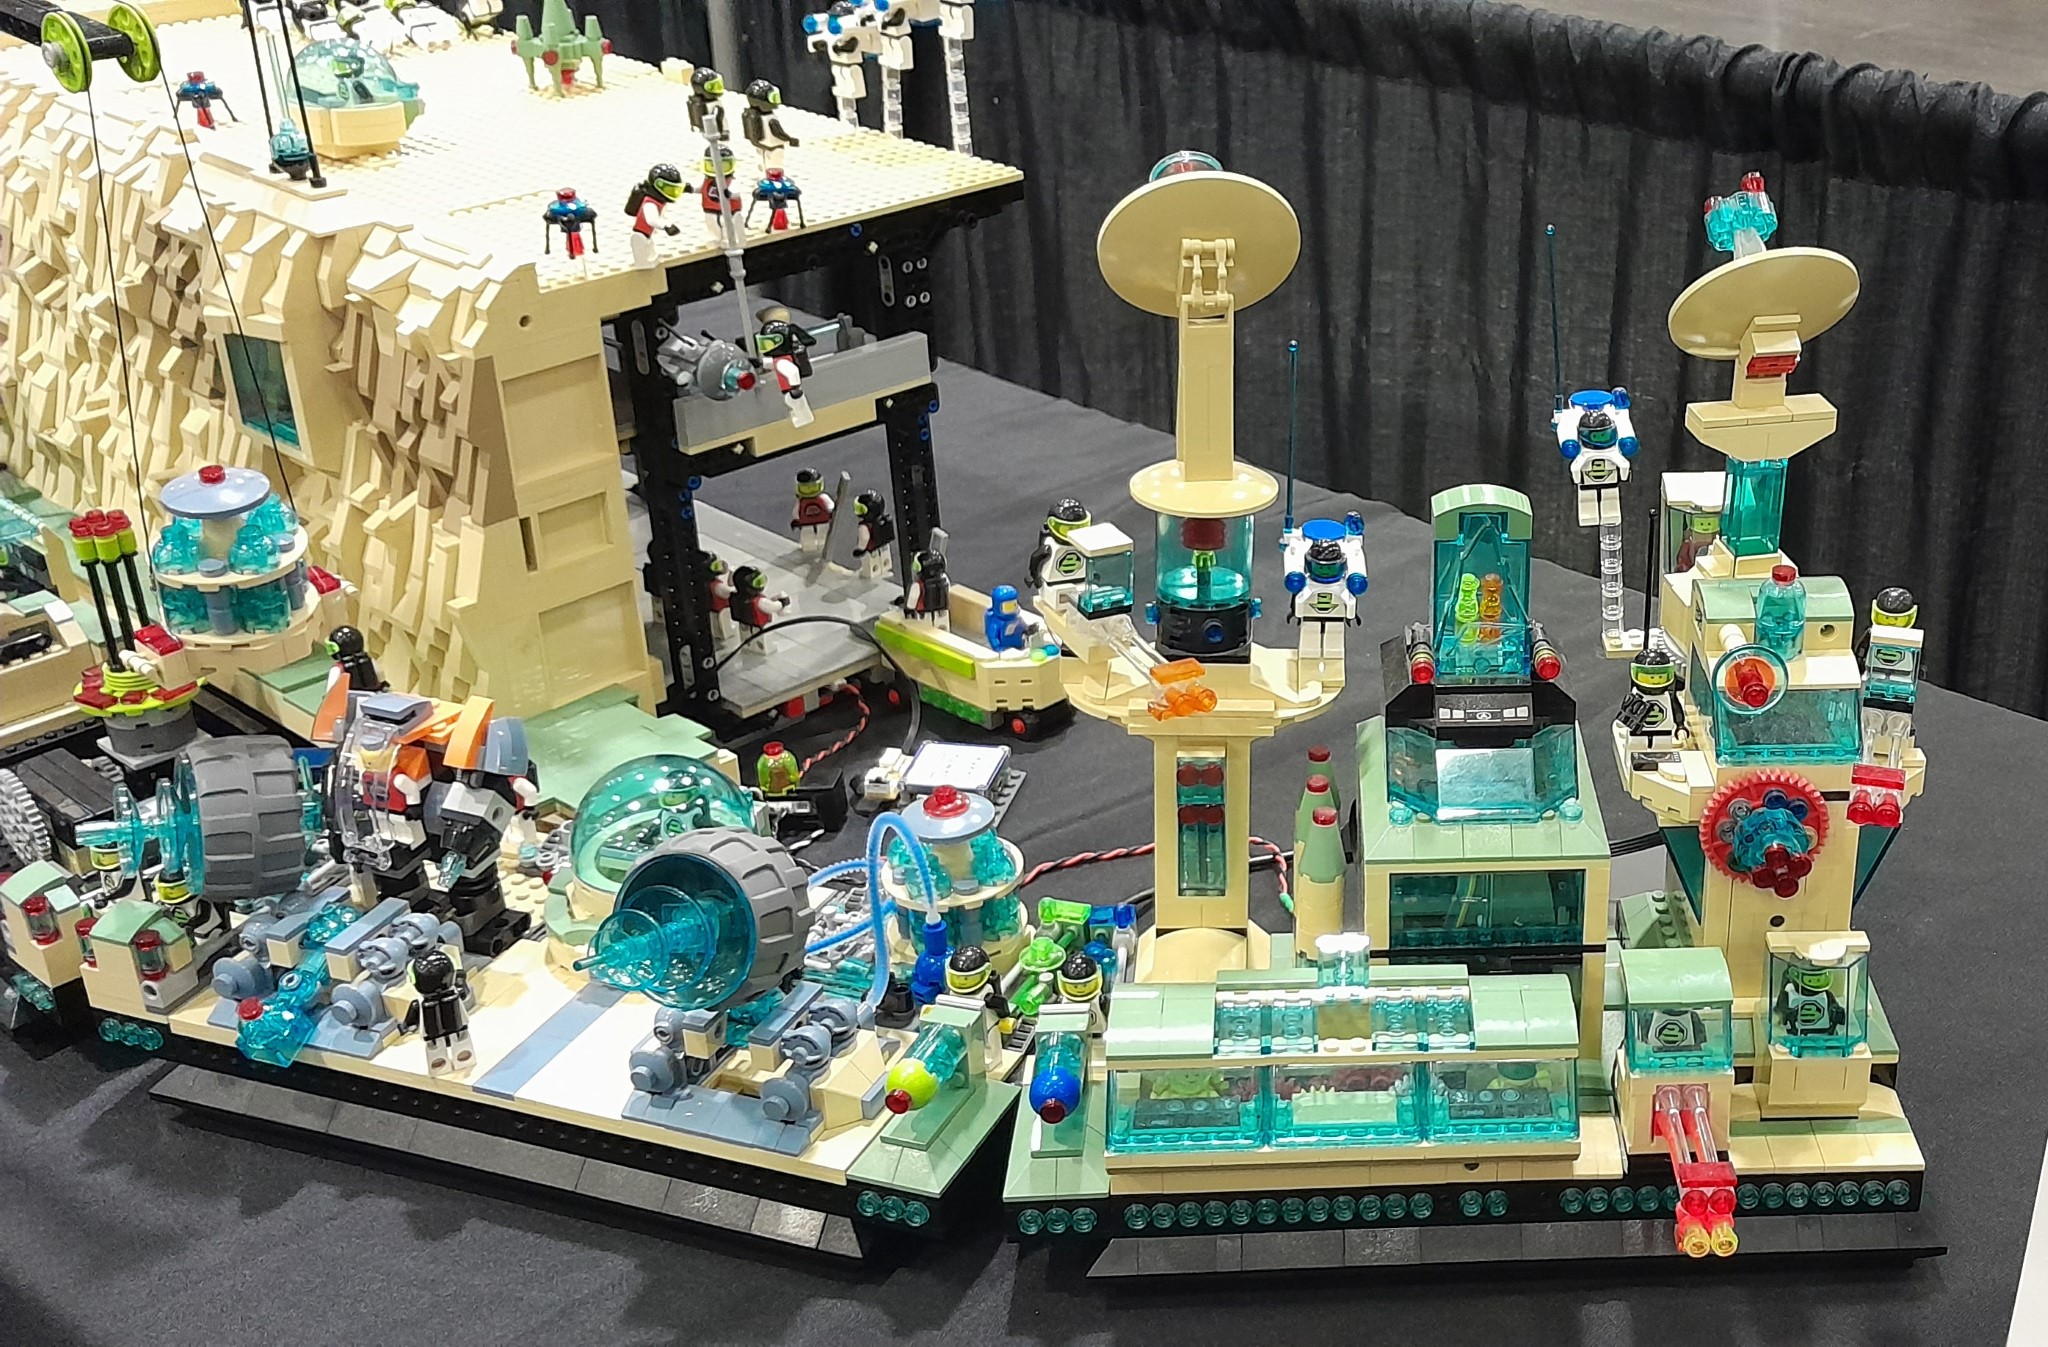
I found this in a brick pile years ago.  After examining it for a few days, it spawned the idea of the space base.  The idea that I could slowly bend independent modules in a curve was very intriguing.  I discussed this idea in multiple posts, here, here, and here.  I only had two angles and I was hoping that when the curve got to the 90 degree point it would be perpendicular with the front.  But as you can see that did not happen.  This was going to make any cliff wall behind these modules more difficult.  It was already not going to be easy and this just dramatically increased the difficulty factor.

Thus I started out trying to design a sort of variable platform connector.  I started out with the basic connection which is just two wedges and a hinge plate.

I used the 12 x 3 wedge plate because I knew the larger width wedge plates (6 x 3 and 8 x 3) would have to large of a minimum angle.  That would place the module beyond the 90 degree point.

Then I slowly move the module to the 90 degree point and lock it down so it wont move.

This shows the opening of the two wedge plates.

The next step is to find a position for the front hinge plate to connect.  Ideally you want to use the position with three studs in the row, but you can move up one row to the first row with two studs in it.

As you can see neither of these opens the connector enough to achieve the 90 degree setting I want.


Next step is to add a 1 x 2 plate to extend the hinge plate.

This will open up the angle as we see here.

But that is too much angle.  I moved the module to the correct position, but that puts the hinge plate in an undesirable position.  Also the hinge plate is rotating on the single stud connection to the 1 x 2 plate.

I changed out the 1 x 2 plate for a 1 x 3 plate, that at least keeps the hinge plate from rotating on the extension plates.  But the entire hinge plate is still not in a good position.

Now I moved up one row

This is very close, but there is only one stud on each wedge plate.  I need a more stable connection and to verify that this will be where I want the module.   So I swapped out the 1 x 3 plate for a 1 x 4 plate.  This grabs the hinge plate with two studs and grabs the two studs on the wedge plate.

This has the hinge plate in a buildable position and places the module very near the 90 degree point.  

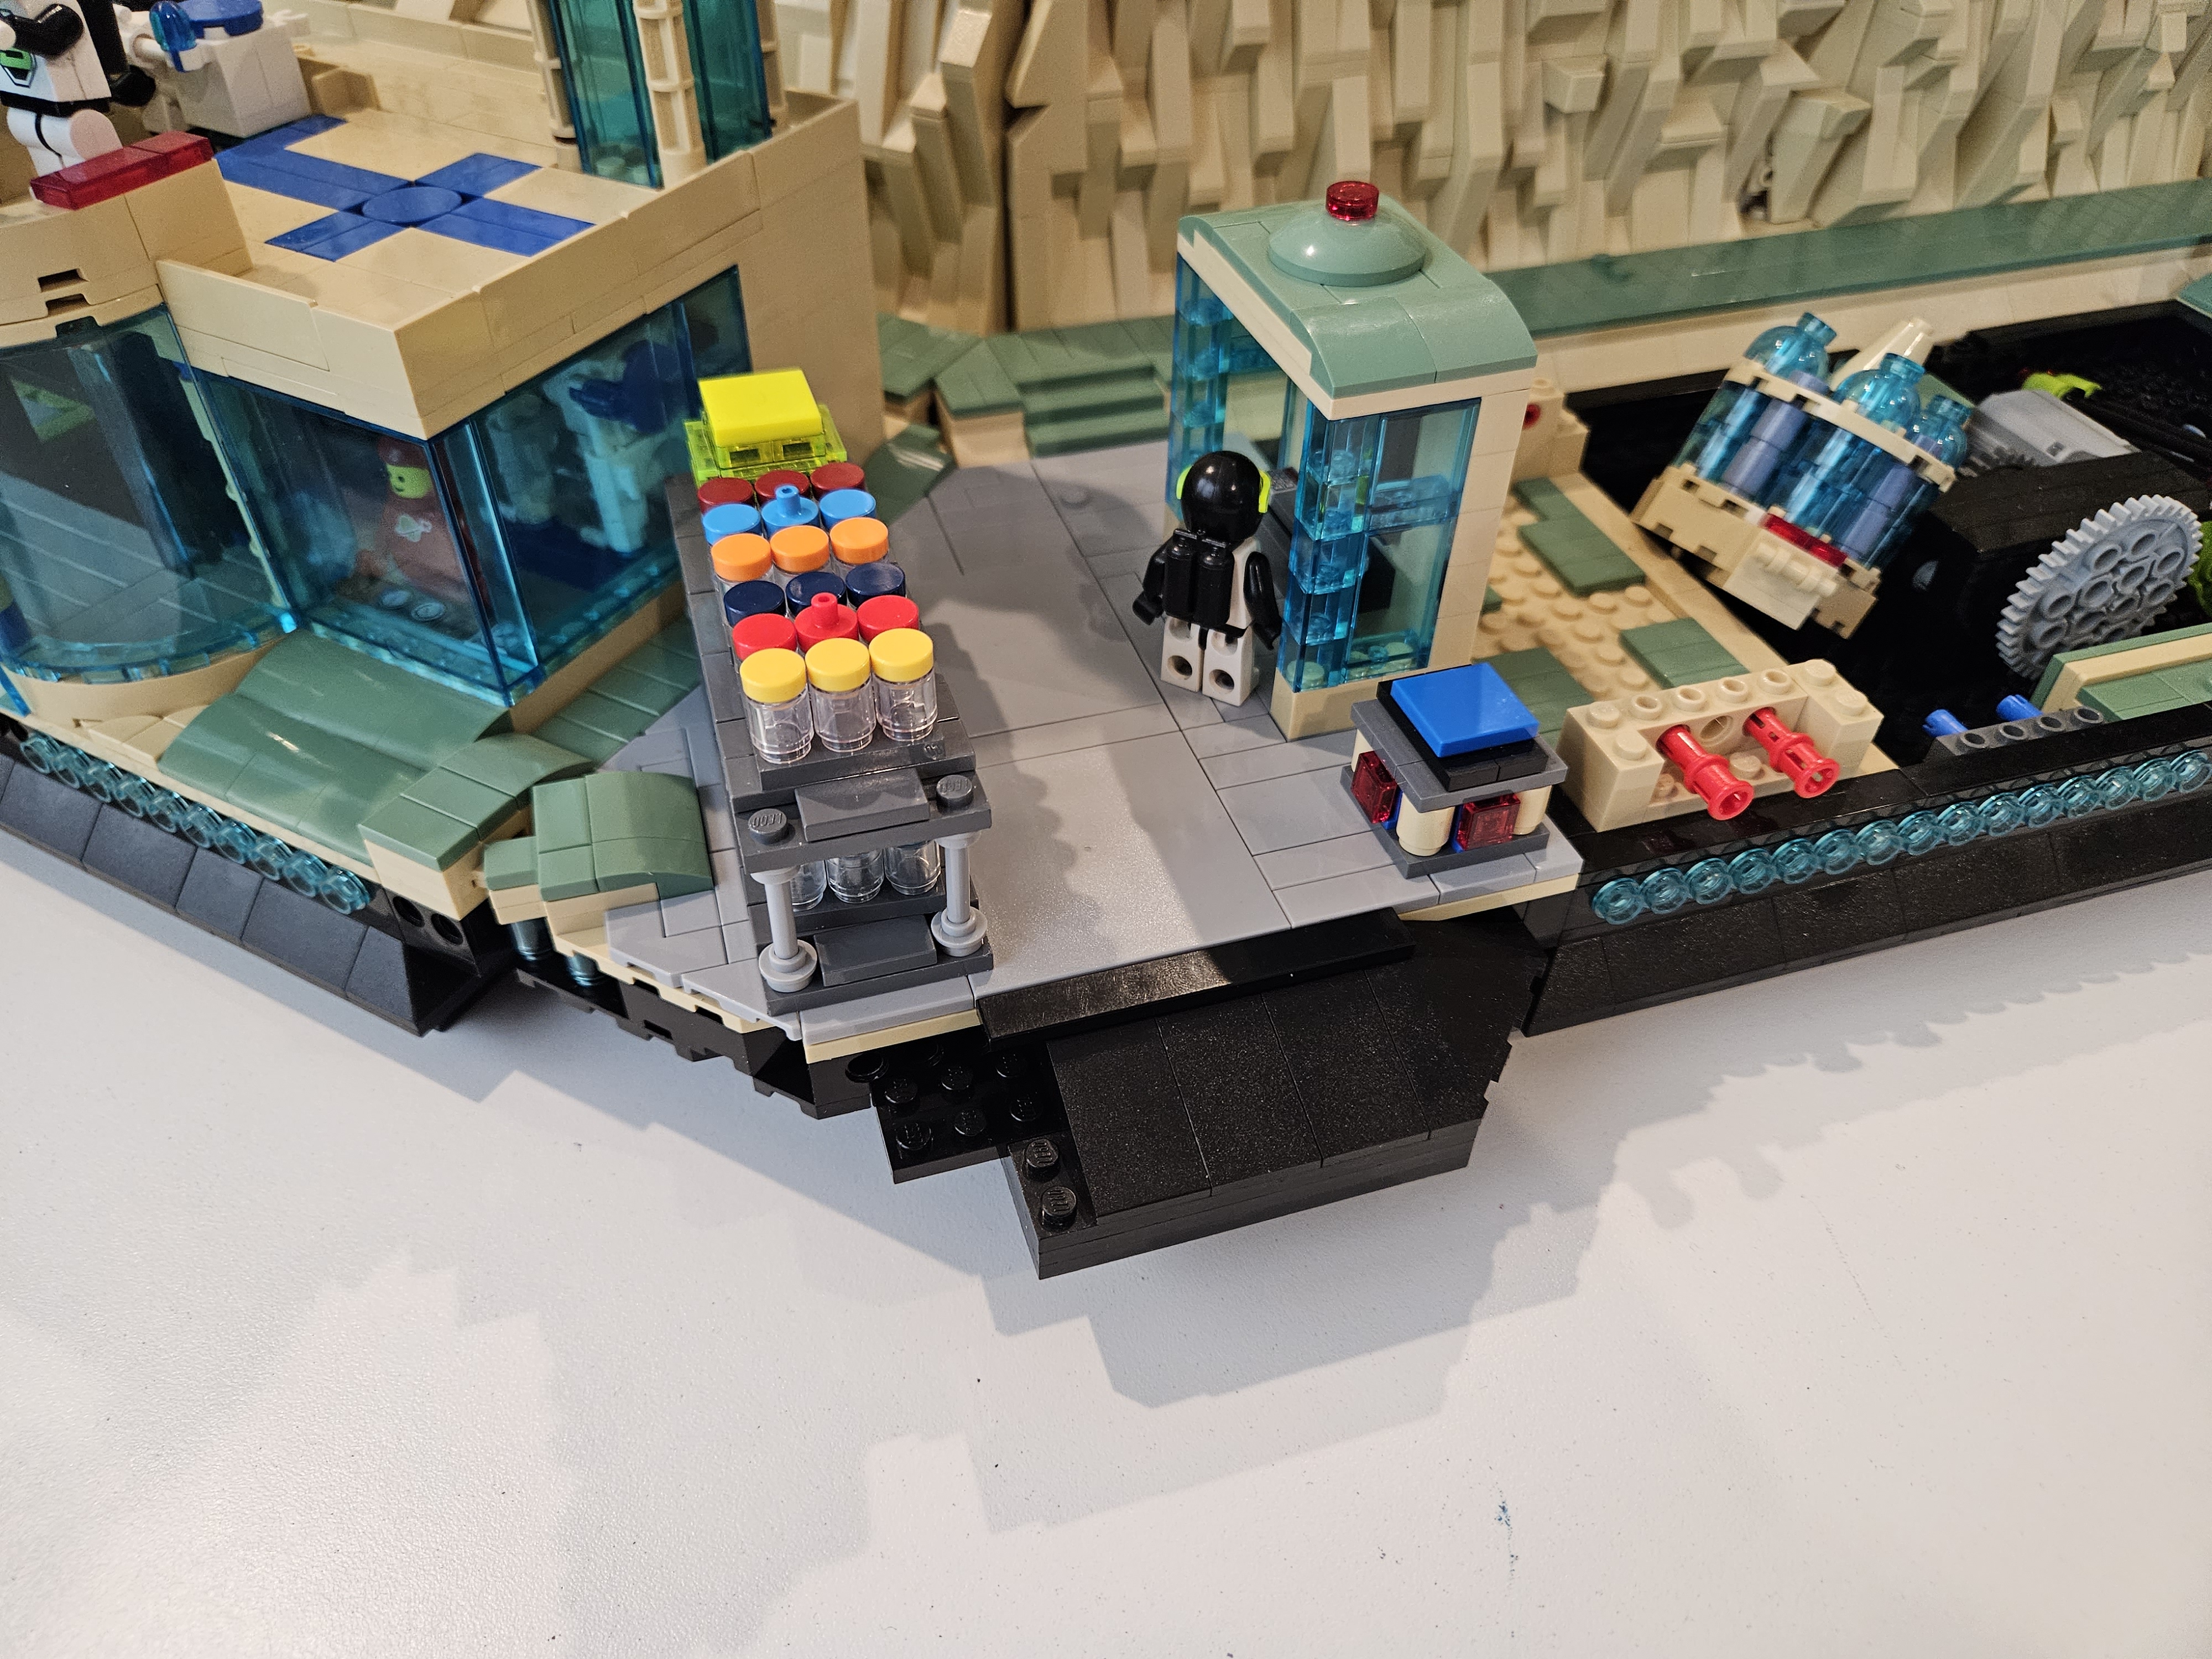
Now I can build the detail that will cover the two (one on each side) platform connectors.


Wednesday, February 15, 2023

Changing of the Colors


When I first started the Space base, I had a general idea of the color scheme, but did not have all the parts in the correct colors.  Using the standard color terms, this is what I envisioned in the beginning:

The base "base" is BLACK.

The majority of the structure is TAN. 

The sturucture accent is SAND GREEN.

The individual section accent is SAND BLUE.

All of the glass is TRANSPARENT LIGHT BLUE

The interior flooring is LIGHT BLUISH GREY

The interior support structure is BLACK

The two BLACKTRON II brigade colors are TRANSPARENT BRIGHT GREEN/LIME (always on the left) and TRANSPARENT DARK BLUE/BLUE (always on the right).

Other colors are used, but are mostly muted colors as to not distract from the above color scheme.

Here are some of the changes that have happened.

This 

has changed to this


this


has changed to this


this

has changed to this, but the two black dishes need to be changed to SAND BLUE.  Unfortunately that color is not prolific and I am waiting on the next collection of parts needed.  That way I can defray the shipping costs, which are only going up right now.


This is the base design.  I have two more to do, since I added the last two sections that make the Space Base a little over a semi circle now.  Usually these designs come to me while I am doing something completely else.