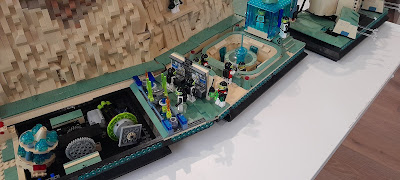
This is first connector I am working on. This shows the blank and the equivalent in previous connectors. My first thought was a large control panel on one side and some form of power system that the control panel is monitoring.
I built a stand with SNOT bricks. Then attached a 6 x 10 plate. On the upper 4 x 10 section of studs, I attached various decorated tiles. On the top row, I used decorated 1 x 2 "cheese" slopes, except they are facing down. One row up from the bottom, I attached two 1 x 4 SNOT bricks to form a shelf. Then placed more decorated tiles.
Here is a close up of the control panel.
I went through multiple iterations of the power system. The space is essentially 4 x18 studs. This shows one of the iterations.
This is where I ended up. I am not particularly happy with this. It is OK, but not what I was hoping for. I can always come back and change this later. Though I have some really small UV LEDs and if I can get them under the four antennas and the four cones (all transparent neon green), then this might look pretty good.Here it is installed.


No comments:
Post a Comment