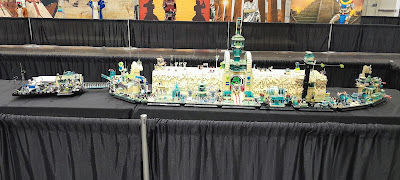
Setup was the same as always, though by the time we unloaded, parked the car and got started, it was already almost 1PM.
The setup uses two 8 foot tables. In the past the center module has always been near the table break. This has put large stresses on the joints where the modules connect to the center. This time I started building on one end and very near the end of the tables. This would place the table break somewhere in the the last two modules on the left side. I was hoping that those modules were less susceptible to the stresses. It turns out this was a very good decision.
This next set of pictures shows the various stages of setup. Basically I start on one end and just move down the line When I get to the modules with the cliffs and hanger bays, these are assembled as a slice and then that slice inserts into the next one. The other important item is to check power as I go. I do not want to have the whole display assembled and then some small buried doesn't work. That would not be good.
The big change was we were moved to our own area and thus had a 360 degree display. People could see both the front and back. This was a big change for viewing the back, since people could only see it from the side at an angle. This time they could as close to the back as the front.
And we are done!
This time the asembly took between 2 and 2.5 hours. So we finished with assembly around 3:15PM. Then we spent the next hour, detailing, fixing things that came loose during transport, etc. Thus we left the hall just after 4:30PM.


No comments:
Post a Comment